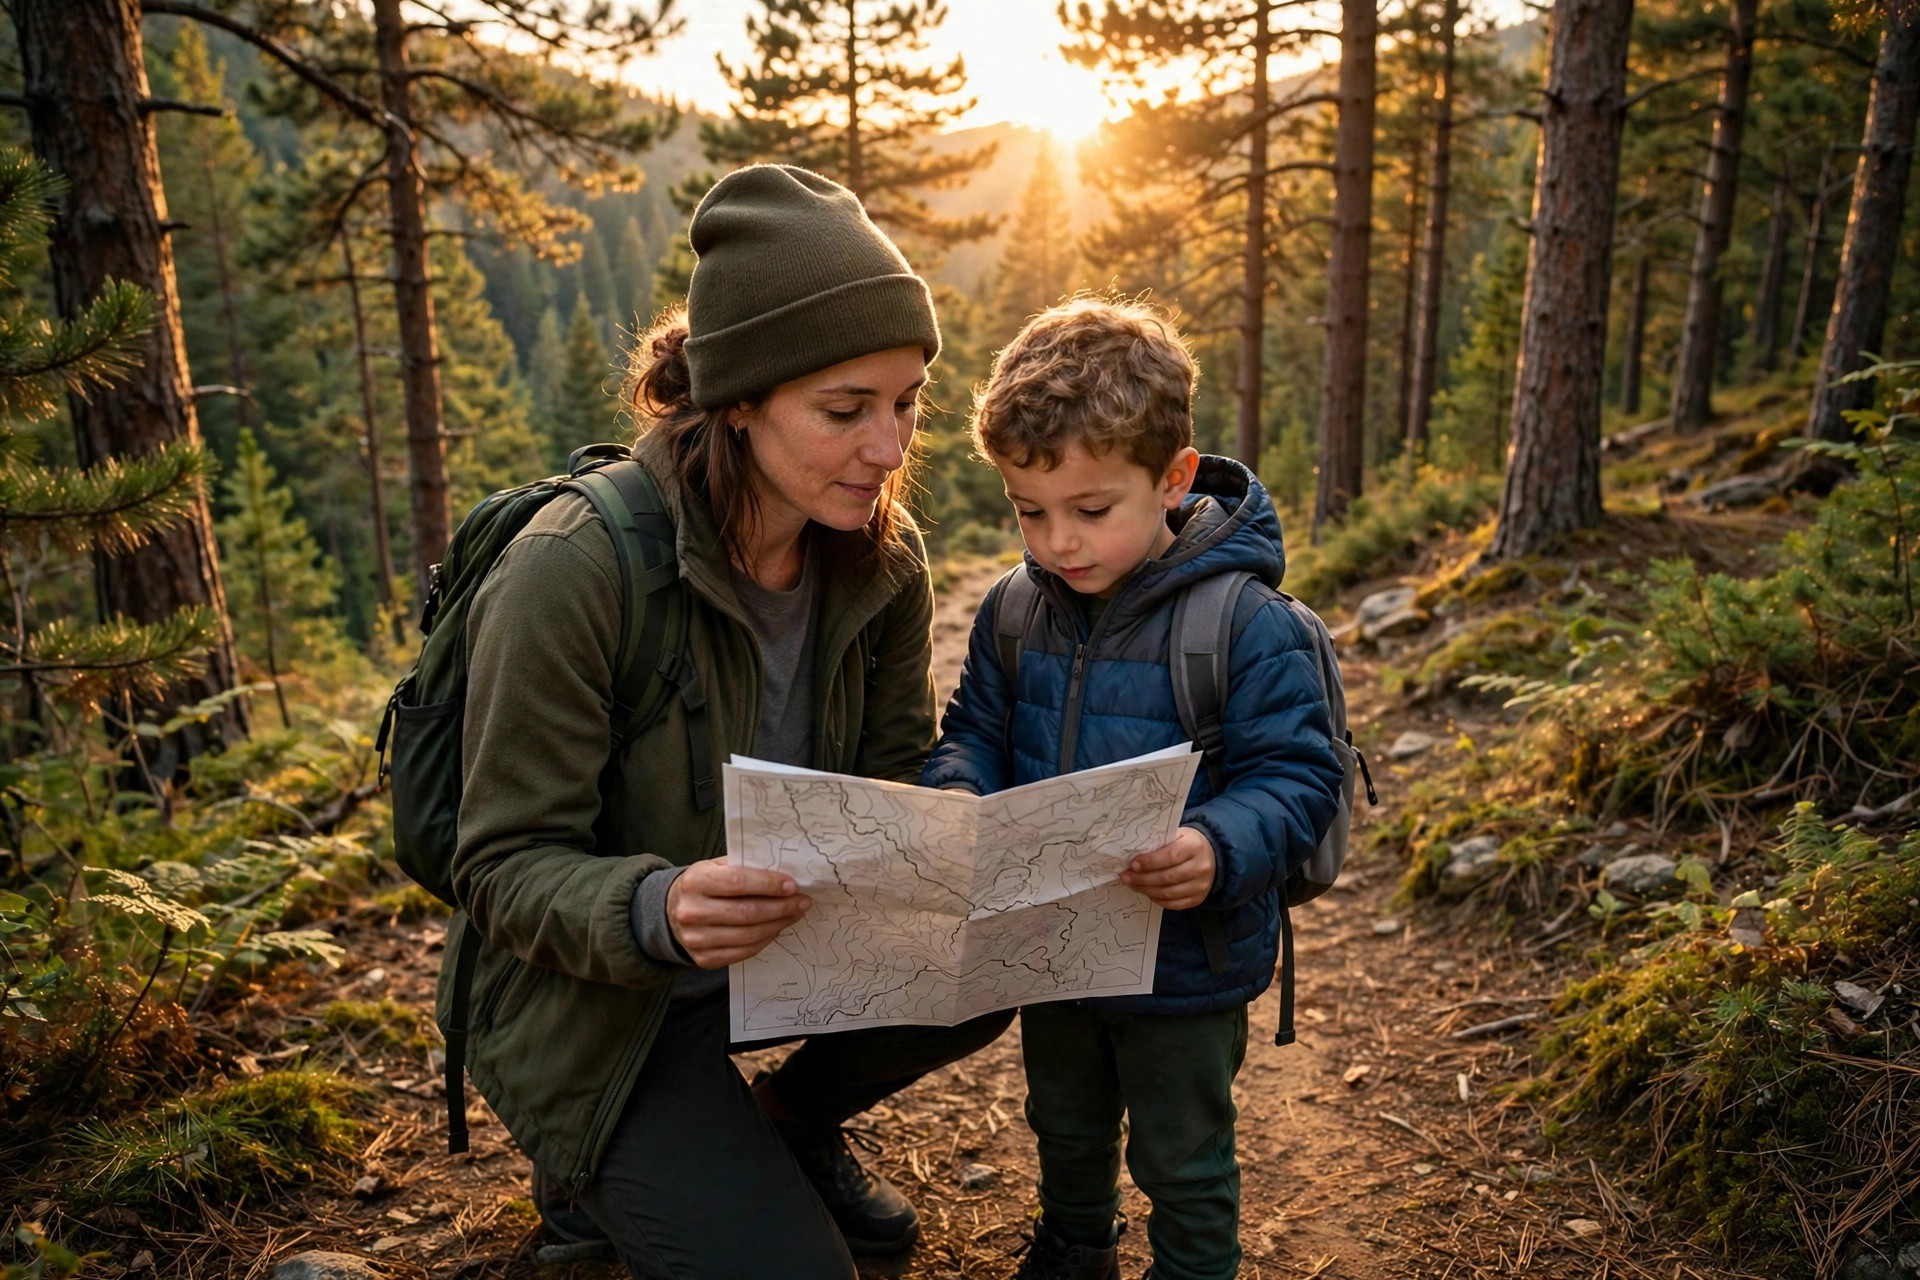
Getting lost hiking with kids is every parent’s nightmare scenario — and it happens far more easily than most families expect. One missed trail junction, a child who wanders five minutes ahead around a bend, and suddenly the path you came in on looks like every other path. The good news: children who are found quickly are almost always fine, and how you handle the first 30 minutes makes all the difference. This step-by-step safety plan covers exactly what to do if you get lost hiking with kids, how to keep everyone calm and safe while you wait, and how to make sure it never happens again.
Step 1: Stop Moving Immediately
The single most important rule when you realize you’re lost is simple: stop. Don’t walk “just a little farther” to see what’s around the bend. Don’t split up to scout in different directions. Every step you take in the wrong direction multiplies the search area for rescuers — and makes it harder to retrace your steps back to familiar ground.
Why wandering makes everything worse
Search and rescue teams consistently report that lost hikers who stay put are found dramatically faster than those who keep moving. When you’re stationary, a rescue team can work a defined area. When you wander, you may walk parallel to rescuers and never cross paths. Sit down right where you are, unless your immediate surroundings are dangerous (a cliff edge, a river in flood, or an exposed ridge in a lightning storm).
Teach kids the “hug a tree” rule
Before every hike, tell your children this one rule: if you can’t see Mom or Dad, stop walking and hug a tree. A tree gives a small child something to do instead of panicking, keeps them in one place, and makes them easier to spot. Practice it at home so it becomes automatic — it has genuinely saved children’s lives on real trails.
Step 2: Stay Calm and Reassure Your Kids
Children take their emotional cues from you. If you panic, they panic — and panicked kids run, cry, and stop listening. If you stay steady, they’ll believe everything is fine. Take slow breaths, sit everyone down together, and frame the situation positively: “We’re taking an adventure break. We’re going to sit here, have a snack, and wait.”
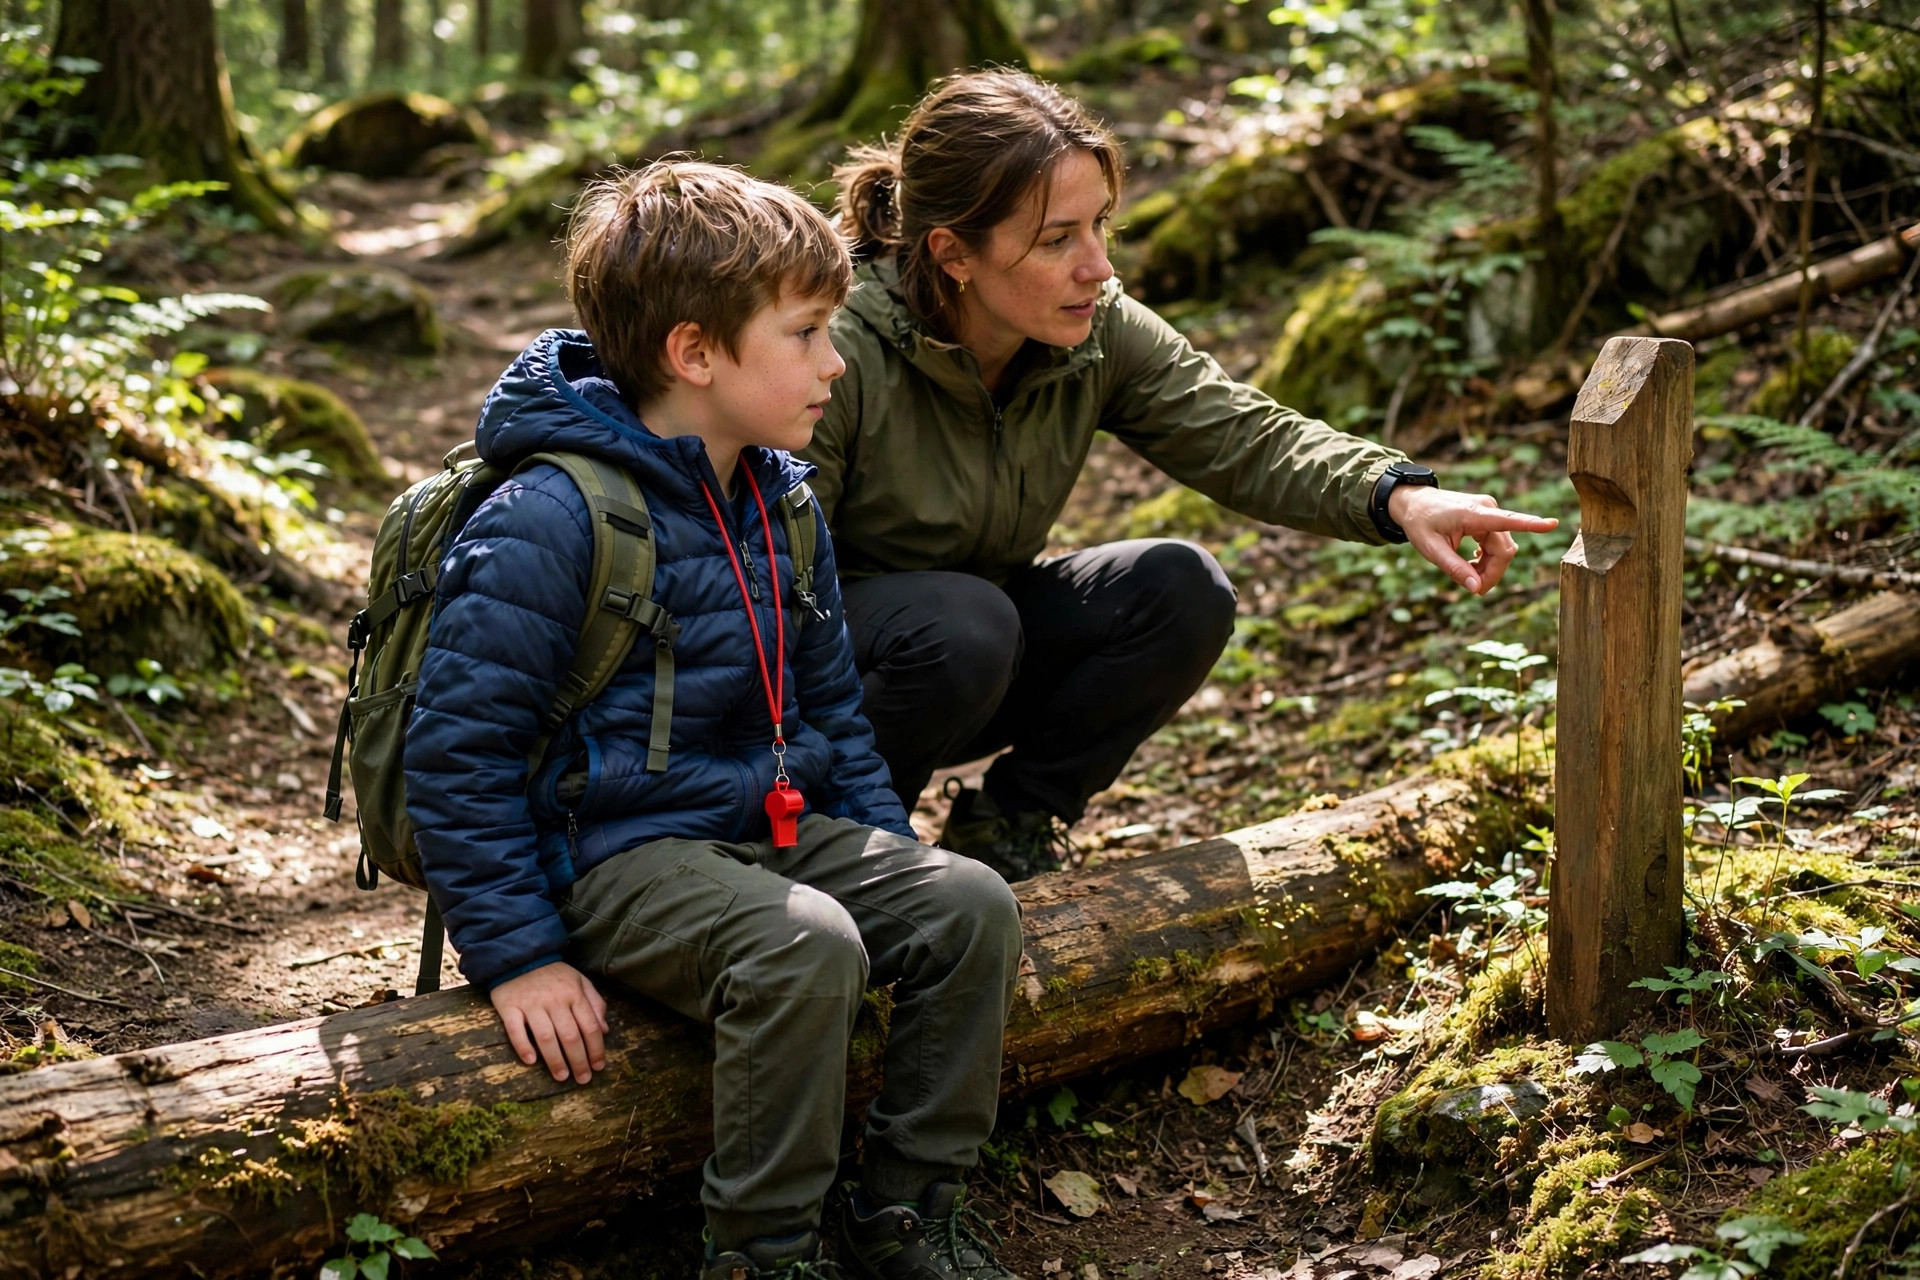
Give each child a small job. One can hold the water bottle, another can blow the whistle at set intervals (three short blasts — the universal distress signal), another can watch for the trail. Busy kids are calm kids. Avoid saying “we’re lost” — say “we’re taking a rest stop while we figure out the trail.”
Step 3: Follow the S.T.O.P. Protocol
Wilderness safety experts teach the S.T.O.P. protocol: Sit, Think, Observe, Plan. Work through it deliberately with your kids watching.
- Sit — Get everyone seated and comfortable. Eat a snack and drink water. This is not the moment to burn energy.
- Think — When did you last know exactly where you were? What landmarks did you pass? Did you take any photos with the trail visible? Check your phone’s photo gallery — the last trail photo may show a junction sign or marker.
- Observe — Look around. Do you have cell signal? What’s the weather doing? Is there running water nearby? Which direction is downhill (water and trails often run downhill)? Can you hear any man-made sounds — traffic, voices, machinery?
- Plan — Decide your next action together. The right plan is almost always: stay where you are, make yourselves visible, and wait for help or wait for daylight to retrace the last known good point.
Step 4: Make Yourselves Visible and Audible
Once you’re stationary, shift your energy to being findable. Rescuers can’t help you if they can’t see or hear you.
Signal in threes
Three of anything is the international distress signal: three whistle blasts, three shouts, three flashes of a headlamp, three piles of rocks, three fires in a triangle. A whistle carries far farther than a voice and costs no energy to use — which is why a $5 whistle belongs on every child’s pack, right next to the gear in our child carrier backpack comparison. For more on what belongs in a day pack, see our family camping checklist of 47 essentials.
Be seen from the air and the trail
Lay out bright-colored clothing, a space blanket, or a backpack on open ground in a triangle or X shape — the universal “we need help” symbol. If you’re in forest, move to the nearest clearing or trail edge. At dusk, a headlamp flashed in sets of three is visible from remarkable distances. Keep kids in bright colors on every hike; it matters more than any gadget.
Step 5: Conserve Energy, Water, and Warmth
If you may be waiting hours, ration wisely — but don’t deprive anyone. Dehydrated, cold children deteriorate fast.
- Water first: Sip regularly. If you’re out of water and hear a stream, an adult can carefully collect from it; drinking untreated water for one afternoon is far safer than dehydration.
- Layer up before you’re cold: Put on every layer you brought, including rain jackets as wind barriers. Kids lose heat faster than adults. Huddle together for warmth — this is where proper preparation pays off; our guide to keeping kids warm with a layering system explains exactly what to pack.
- Stay dry: Wet clothes steal body heat 25 times faster than dry ones. Get out of the wind, sit on packs or dry leaves instead of bare ground, and use a space blanket or trash bag as a ground sheet.
- If night falls: Stay put. Do not attempt to hike out in the dark — the risk of injury skyrockets. Snuggle the kids close, tell stories, and wait for morning.
Step 6: When and How to Call for Help
Call 911 (or the local emergency number) as soon as you realize you’re genuinely lost if you have signal — don’t wait until it’s dark. Tell dispatchers: your trailhead name, the trail you intended to hike, the last landmark you remember, how many people are in your group including children’s ages, and your phone’s battery level. Then conserve your phone: turn off data, lower brightness, and keep it warm inside a jacket.
Text messages often go through when calls can’t — try texting 911 if your area supports it, or text a family member your GPS coordinates (most phone compass apps display them). If you hike frequently in remote areas, consider carrying a personal locator beacon or satellite messenger; they’re the single biggest upgrade to family hiking safety. The National Park Service’s Hike Smart guide is an excellent refresher on trip planning and emergency basics.
How to Not Get Lost in the First Place
The best rescue is the one you never need. These habits make getting lost with kids dramatically less likely:
| Habit | What to do | Why it matters |
|---|---|---|
| Photo every junction | Snap a photo at each trail split, showing the sign | Your phone’s photo gallery becomes a breadcrumb trail back |
| Download offline maps | Save the trail map in your hiking app before you leave | GPS works without cell signal |
| Set a turnaround time | Agree on a hard turn-back time before starting | Prevents being caught by darkness |
| Whistle on every kid | $5 lanyard whistle, non-negotiable | Three blasts carry over a mile in open terrain |
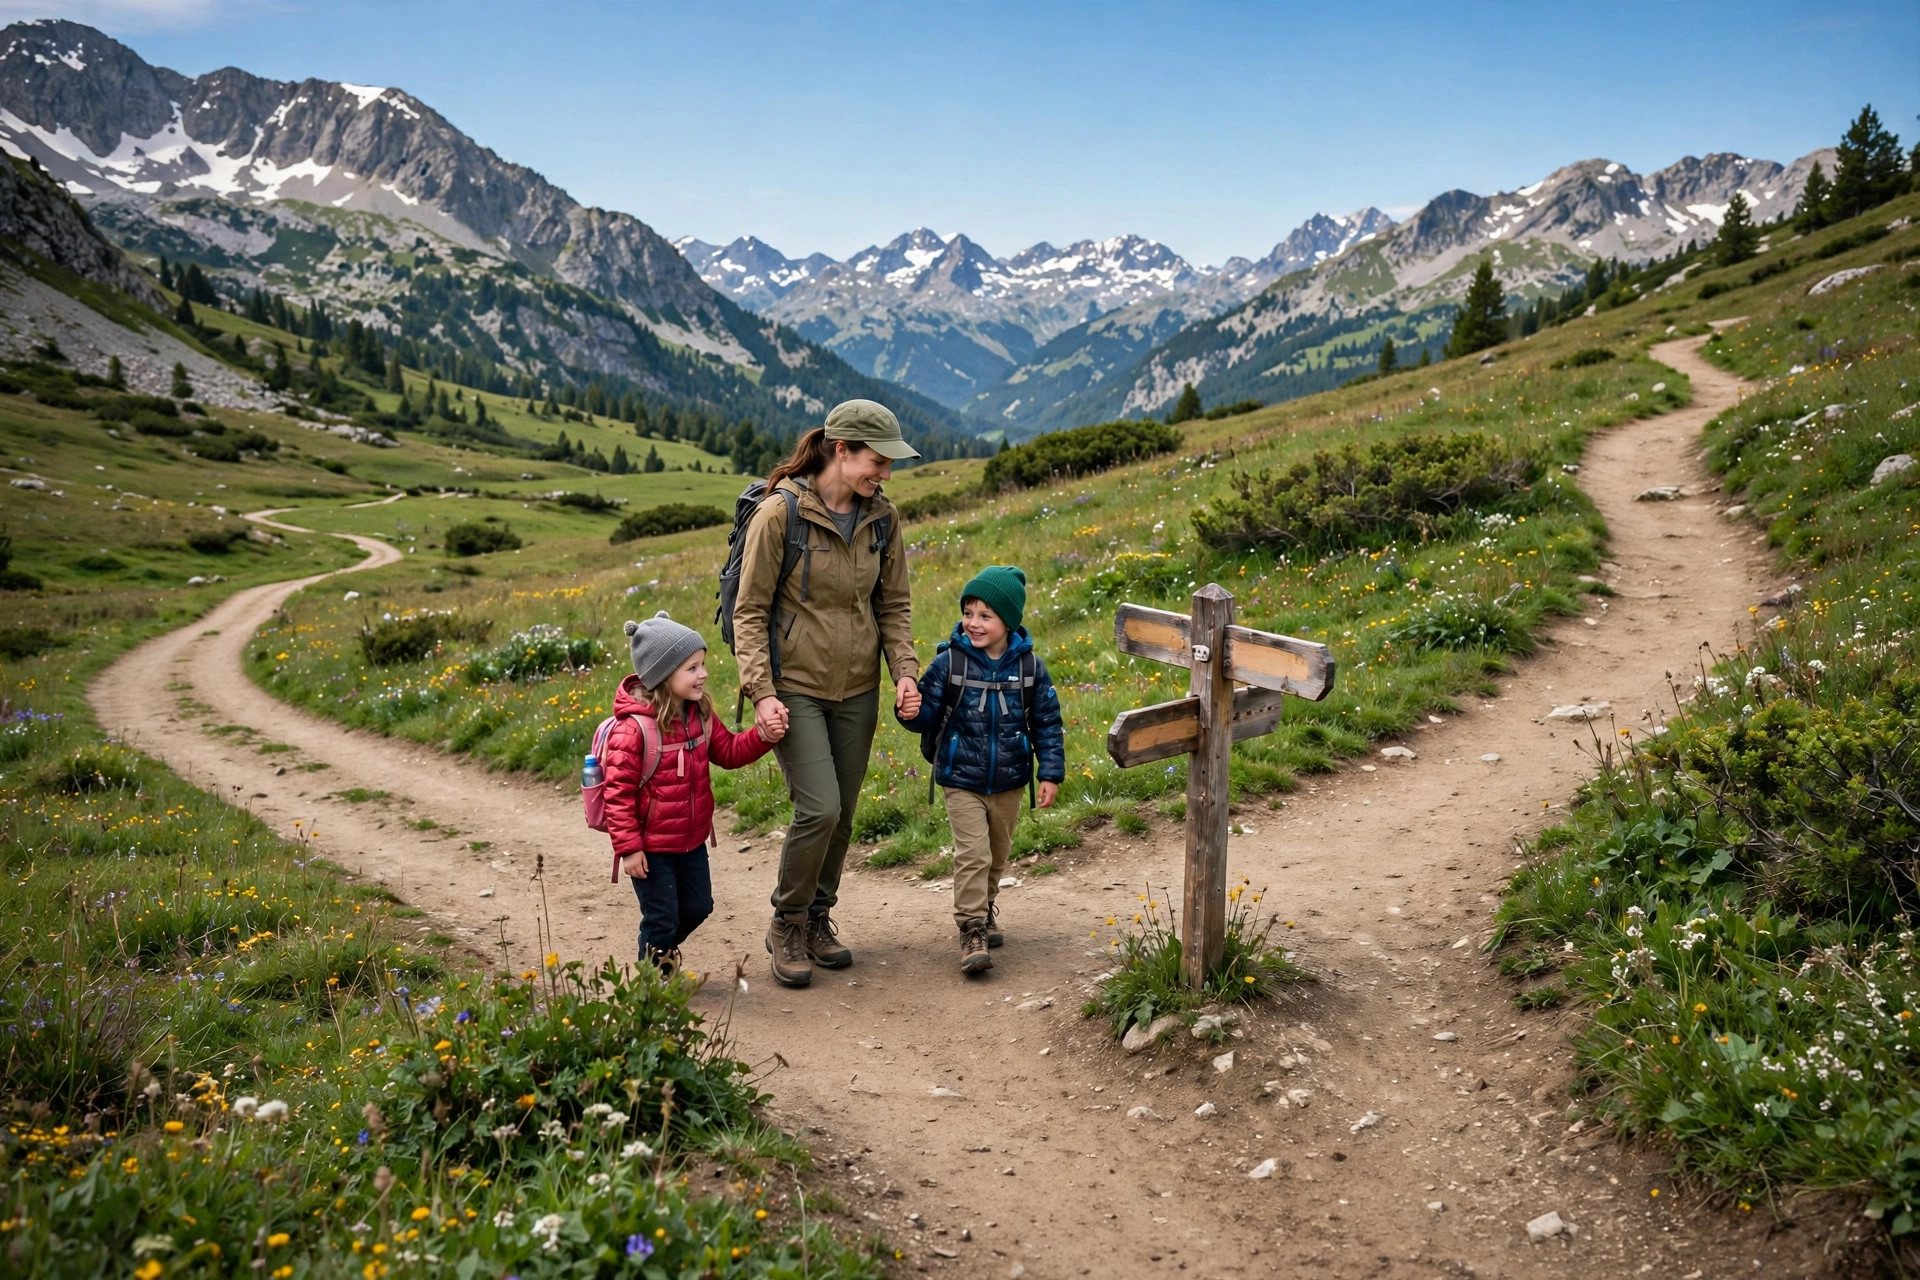
| Buddy system | No child walks ahead out of sight — ever | Most “lost kid” cases are 5-minute separations |
| Tell someone your plan | Text a friend: trail, start time, expected return | Triggers a search if you’re overdue |
Before heading out, Recreation.gov is the official source for trail conditions, alerts, and closures at federal recreation areas — a two-minute check can reveal a closed trail or a washed-out bridge that would otherwise send you off-route. And REI’s hiking-with-kids guide has solid, field-tested advice on pacing, gear, and keeping little legs happy on the trail.
Teach Your Kids the Safety Plan Before You Hike
Rehearse the plan on an easy, familiar trail so it feels like a game, not a lecture. Our realistic guide to hiking distances by age helps you pick trails that match your kids’ stamina — tired kids wander and complain, which is when mistakes happen.
Make the pre-hike safety talk a ritual, like buckling a seatbelt:
- “Stay where I can see you” — define the visible bubble.
- “If you can’t see me, hug a tree and blow your whistle.”
- “Three whistle blasts means come find me.”
- “We never leave the trail, even for a shortcut.”
Kids as young as four can learn this. Repeat it every hike until they can recite it back to you.
Frequently Asked Questions
What should a child do first if they get separated on a trail?
Stop walking, stay exactly where they are, and blow their whistle in sets of three blasts. Teach them the “hug a tree” rule before every hike so the response is automatic.
Should we keep walking to try to find the trail again?
No. Wandering is the most common reason lost hikers stay lost. Stop, sit down, and only move if your current spot is dangerous. Staying put keeps the search area small and helps rescuers reach you fast.
How long should we wait before calling 911?
If you’re genuinely lost and unsure of your location, call as soon as you have signal — don’t wait for dark. Dispatchers would far rather hear from you early than launch a night search.
What if our phones are dead or there’s no signal?
Use the whistle (three blasts), make ground signals visible from above, and wait. Text messages can sometimes send when calls fail, so try texting your coordinates to a family member. A satellite messenger is worth carrying in remote areas.
Is it safe to let kids hike ahead on the trail?
Only within your line of sight. The vast majority of “lost child” incidents are separations of a few minutes at a bend or junction. Use the buddy system: no child goes around a corner or over a hill you can’t see past.
What gear prevents getting lost with kids?
A downloaded offline map, a $5 whistle per child, bright-colored clothing, a fully charged phone, and a personal locator beacon for remote areas. Tell someone your route and expected return time before every hike.

1 comment
[…] whistle and compass set — great for teaching kids trail safety skills on every […]