Thrilling 8-Day Wonderland Trail Challenge
The Wonderland Trail is a 93-mile loop around Mount Rainier in Mount Rainier National Park, Washington, offering breathtaking views of glaciers, forests, meadows, and milky-brown glacial rivers. Most hikers take 7-12 days to complete the journey, but I thru-hiked it in 8 days in July 2023, experiencing its steep ascents and descents along the flanks of Mt. Rainier.
Despite the challenging terrain, the trail is well-maintained, making it a great introduction to longer distance backpacking trips.
One of the best parts? The wildlife—spotting marmots, mountain goats, and even bears (from a safe distance) adds excitement to the trek. The front country amenities, including food, general stores, ranger stations, and visitor centers, along with multiple food caching locations, make logistics easier.
Whether you’re drawn by the ever-changing angles of Rainier’s peaks or the serene lakes, this trail is a must for backpackers.
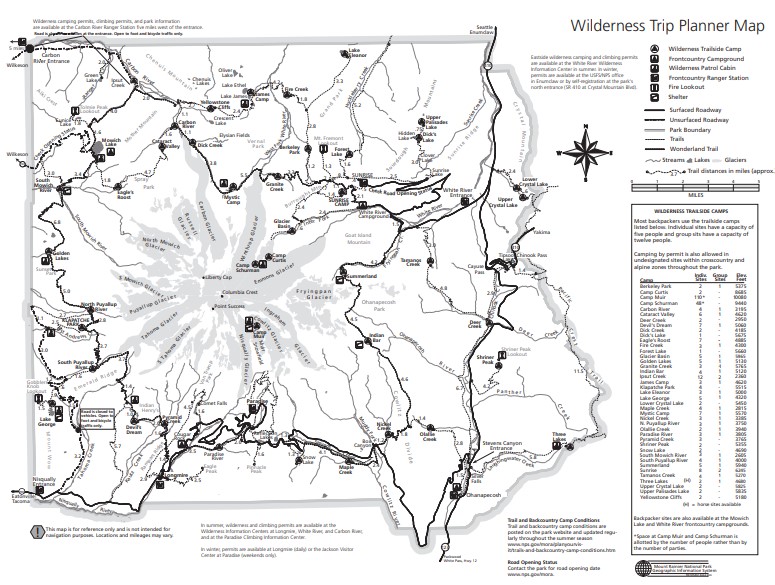
| Category | Details |
| Trail Type | Loop |
| Total Distance | 93 miles |
| Elevation Gain | 23,000 feet |
| Elevation Range | 2,370 ft (low) – 6,750 ft (high) |
| Duration | 7–12 days (recommended) |
| Difficulty | Strenuous |
| Permit Required | Yes (via Mount Rainier National Park on Recreation.gov) |
| Camping Rules | Designated campsites only |
| Key Highlights | Klapatche Lake, Indian Bar, Panhandle Gap, Summerland, Spray Park, Sunrise |
| Trailheads | Longmire, White River, Sunrise, and others |
Check out full details in pdf
Wonderland Trail 8-Day Itinerary: Permit Information
Understanding the Permit System
Securing permits for the Wonderland Trail is managed by Mount Rainier National Park Wilderness through Recreation.gov. The process kicks off in February with an early access lottery, and since demand is high, getting a spot requires both planning and luck. I learned this firsthand when applying for my 2023 hike—it’s competitive, and popular campgrounds like Indian Bar and Summerland get booked fast.
Campground Reservations & Group Size
Every night on the trail requires a campground reservation, as camping is only allowed at designated campgrounds. Most sites are small, accommodating just 3-5 sites, making the competition fierce. For groups of 6 or more, you’ll need a group site, which are available at most but not all campgrounds.
When I planned my trip, I had to carefully book sites for back-to-back nights, which narrowed my itinerary options—especially since Indian Bar was already full by my 7th day of early access.
How to Get a Permit
The best way to secure a permit is to enter the lottery in February. If you win, you’ll get a time slot between March and April to reserve your spots. After that, any leftover spots open to the general public, but by then, securing a full circuit is difficult.
When I checked availability during my late July hike, many prime sites were gone, proving that timing is everything. For complete information, check Recreation.gov or call a wilderness ranger with questions.
Wonderland Trail 8-Day Itinerary: Walk-up Permits & Planning Tips
Securing Last-Minute Permits
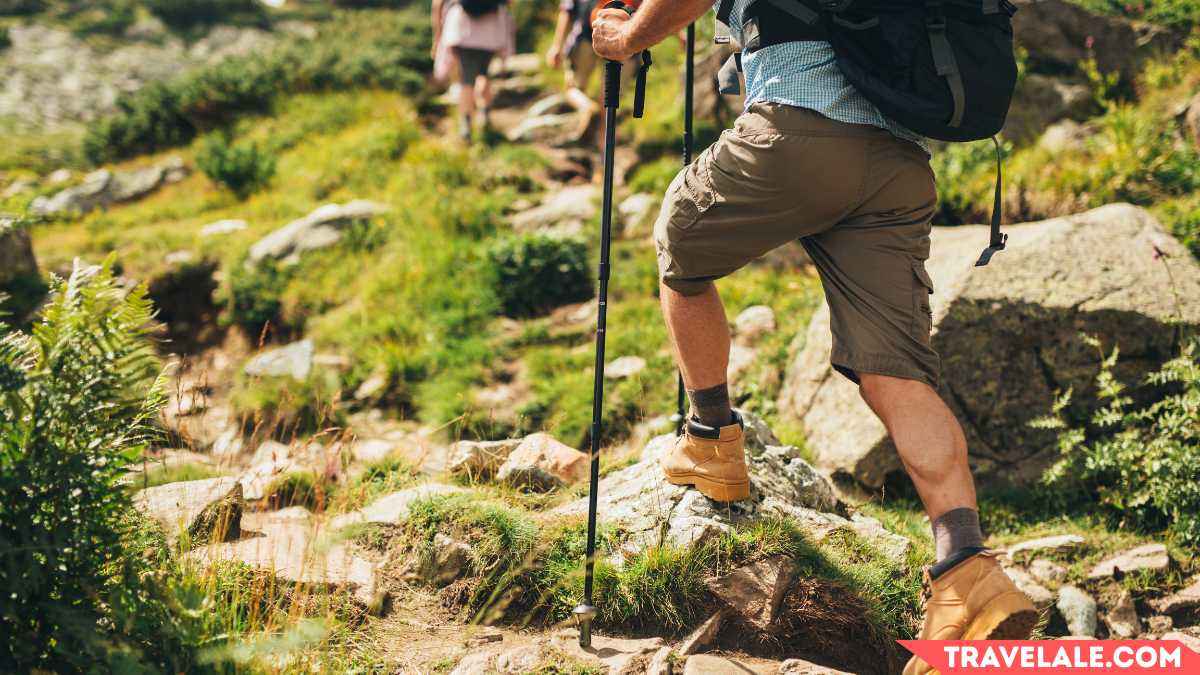
- One-third of campsites are held for walk-up permits, which you can only get in-person at a ranger station for trips starting the same day or next day
- Even if you’re first in line, there’s no guarantee—popular camps fill fast since most hikers book weeklong itineraries
- Pro tip: Check live campground availability during the early access period on Recreation.gov if you win a time slot
Flexibility is Key
- You can change your permit using the walk-up quota when you pick up your permit (we swapped Mystic Camp for Dick Creek)
- Have alternate itineraries ready—your first choice campsite might be booked out online
- Stay flexible: Consider less popular campgrounds, different dates, or starting at trailheads like Mowich Lake
Planning Your Route
- The Hiking Tahoma Planner (a free tool by Shawn Hargreaves) generates sample itineraries with mileage and elevation gain calculated
- Most complete the 93-mile trail in 7-12 days (our 8-day hike averaged 11.6 miles/day)
- Prioritize hiking mileage over trailhead amenities—we chose Mowich for logistics but enjoyed brunch at National Park Inn mid-trip
Key Takeaways
✔ Walk-up permits require in-person pickup and flexibility
✔ Always have backup itinerary options
✔ Use free planning tools to calculate daily mileage
✔ Less popular trailheads can offer better availability
Best Wonderland Trail Backcountry Camps
🏆 Top-Rated Campgrounds
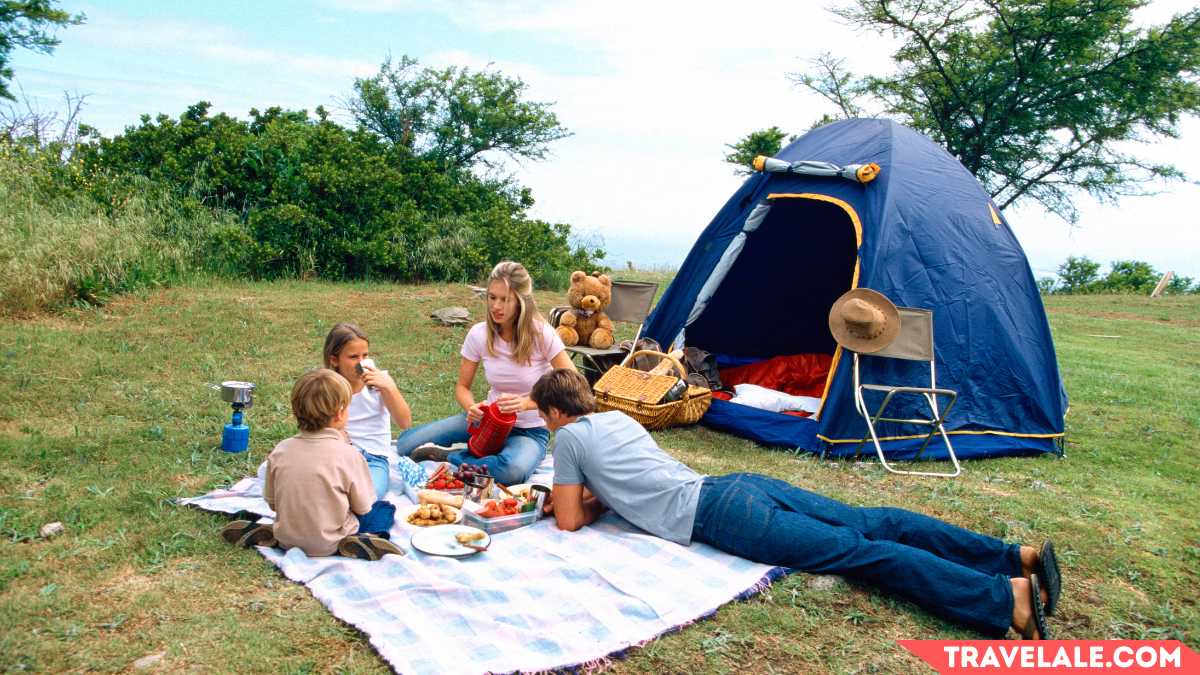
These premier camps offer the most spectacular scenery and experiences:
- Summerland: Stunning alpine meadow with panoramic views of Rainier, bursting with wildflowers in July/August
- Indian Bar: Dramatic valley with glacier views and cascading waterfalls
- Klapatche Park: Features a seasonal lake with perfect reflections of Rainier at sunset
- Dick Creek: Peaceful spot with valley views and an icy cold creek for soaking
- Sunrise Camp: Best for sunrises (short hike to viewpoints), with convenient bear lockers
- Golden Lakes/Mystic Camp: Excellent lake access and tranquil settings
🌲 Decent But Less Scenic Options
Good functional camps when top choices aren’t available:
- River/creek camps: Paradise River, Maple Creek, Nickel Creek, Pyramid Creek
- Forested sites: Granite Creek, Carbon River, Ipsut Creek
- Spray Park alternate route camps: Cataract Valley, Eagle’s Roost
- Other options: South/North Puyallup River, South Mowich River
🚫 Camps to Avoid
Problematic sites worth skipping if possible:
- Devil’s Dream: Notorious mosquito hell with no privacy (sites right on trail)
- Frontcountry camps (Cougar Rock, Mowich Lake, White River): Feel less like wilderness camps since they’re car-accessible
↩️ Hiking Direction Tips
- Clockwise is more popular (gentler uphills)
- Both directions have similar steepness and are equally hard
- Consider your knees – some prefer steeper uphills over downhills
🗓️ Recommended 8-Day Itinerary
Perfect balanced route hitting top camps:
- Mowich Lake → Klapatche Park (17.9mi, +5200/-4600ft) – Tough first day
- Klapatche → Pyramid Creek (13.1mi, +3600/-5400ft)
- Pyramid → Maple Creek (14.2mi, +3000/-4000ft)
- Maple Creek → Indian Bar (10.4mi, +4300/-2000ft)
- Indian Bar → Summerland (4.7mi, +2100/-1200ft) – Easy scenic day
- Summerland → Sunrise (10.5mi, +2800/-2400ft)
- Sunrise → Dick Creek (12.4mi, +2200/-5000ft)
- Dick Creek → Mowich Lake (9.8mi, +4000/-3200ft)
Pro Tip: Used counter-clockwise route to hit top 3 campgrounds within time constraint. The Wonderland Itinerary Planner helped optimize mileage and elevation changes.
🌄 Spray Park Alternate Route
- Replaces Ipsut Pass section
- Adds ~800ft elevation gain but rewards with:
- Gorgeous meadow wildflowers
- Up close views of Rainier
- Better scenery than main route
- The extra climbing is worth the reward!
Best Time to Hike the Wonderland Trail
🌤️ Monthly Breakdown of Trail Conditions
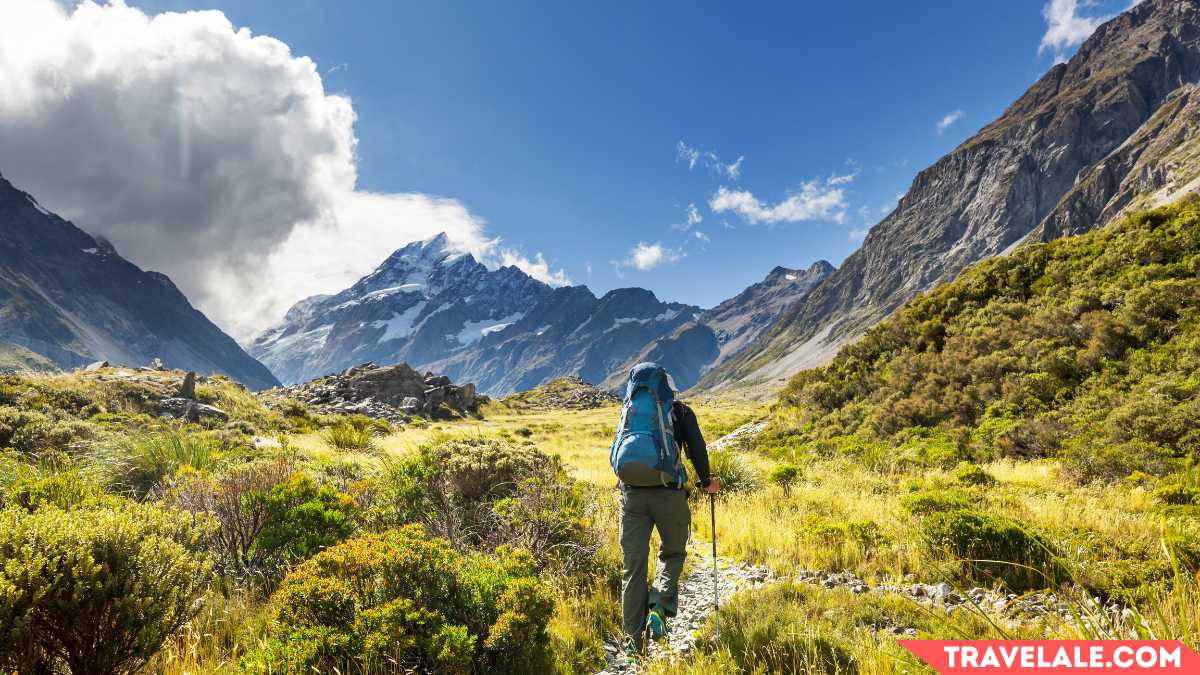
- June: Expect snow travel and potentially impassable rivers if bridge repairsaren’t complete. Best for experienced hikers with proper gear.
- Early July: Similar to June conditions – carry ice axes and watch for bugs as they emerge with the wildflowers.
- Mid-Late July: Our preferred time (we went last week of July) with perfect conditions: mid 60s to low 70s temperatures, abundant wildflowers, and mostly melted snow. Only one rain day during our trek.
- August: Enjoy fewer bugs but watch as wildflowers fading. By late August, smoke from fire season becomes a concern.
- September: Less crowded with fall colors, but be prepared for scarce water sources, fewer daylight hours, and potential snow or inclement weather.
🏕️ Backcountry Camp Essentials
- The 18 campgrounds along the Wonderland Trail range from intimate (2 sites at Dick Creek) to larger (7+ sites)
- All sites are numbered with signposts but not assigned – first-come basis
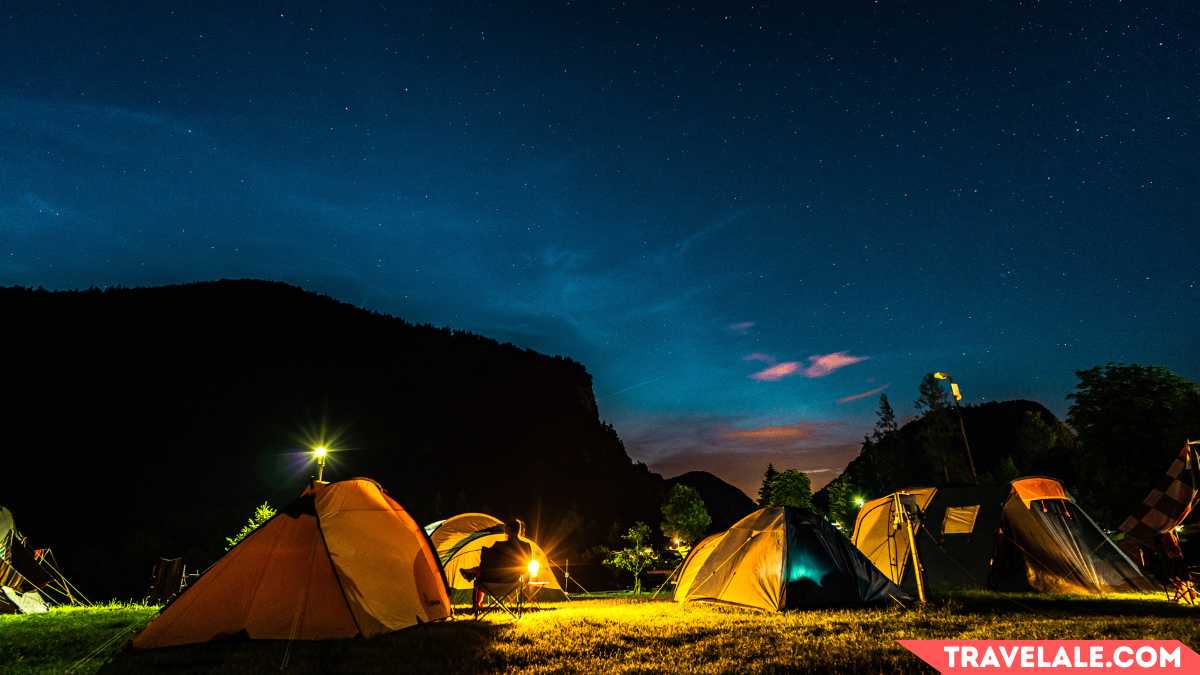
- Most individual sites can comfortably fit two 2p tents (we managed three tents for our group of 4)
- Group sites (available at majority of campgrounds) can accommodate 6-12 people with some featuring 3-sided shelters – a true luxury in bad weather
🐻 Food Storage Solutions
- Every campground provides bear poles or lockers (no need for bear can)
- These tall metal poles with ridged rods require skill to hoist your food bag
- Pro Tip: Practice before your trip – handling a loaded food bag on these can be unwieldy
🚽 Toilet Facilities
- Each camp has pit toilets situated a few minutes’ walk from sites
- Varieties include:
- Enclosed with door (can trap smells and feel dark)
- Open-air elevated box (our preference – better ventilation)
- Notable examples: Summerland (standard), Cataract Valley (oddly back-to-back placement)
💧 Water Source Considerations
- Most camps are strategically located near natural water sources
- Seasonal changes:
- Klapatche Park’s Aurora Lake becomes a pond teeming with tadpoles or dries up entirely by late season (alternate source: St. Andrews Lake 0.75 miles away)
- Devil’s Dream’s stream typically dries by August
- Always verify water sources with rangers when you pick up your permit
Key Recommendations:
✓ July offers the most reliable weather and scenery
✓ September hikers must monitor weather forecasts closely
✓ Practice bear pole use before your trip
✓ Check water availability at ranger stations
✓ Group sites book early for best shelter options
Wonderland Trail Food Caching Guide
📍 Cache Locations & Logistics

The Wonderland Trail offers three food cache locations at Longmire, White River, and Mowich Lake – strategically spaced to limit carrying food to 3-day max. We used two food caches starting from Mowich Lake, which cut our pack weight significantly. While you can ship caches ahead, we chose to drop off ours in person despite the 2+ hr driving distances between sites – worth it for peace of mind.
📦 Cache Setup Essentials
All caches require hard-sided lidded containers – we used standard plastic 5 gallon buckets from hardware stores (NPS regulations). Our group of four split supplies into three buckets: two for our four day segment, one for the final 1.5 day segment.
Pro tip: Time your cache pick up before harder hiking days when you’ll appreciate real food from Sunrise Day Lodge or National Park Inn (but always check hours!).
🍫 Food & Supply Strategies
For shelf-stable caching, think beyond backpacking meals:
- Treats: Coconut water (ours was fridge-cold in shaded White River), plant-based milk, even alcohol
- Real meals: Tinned fish (use frontcountry trash cans), Trader Joes jars (Grecian Style eggplant was a hit)
- Non-food essentials: Extra socks, power bank, and toilet paper (though you can restock at bathrooms)
Don’t miss the discard bucket tradition – we swapped meals with other hikers and scored new favorites! For gear, a waterproof food bag with handle is crucial for bear poles, and we loved our Cascade Mountain Tech Carbon Fiber Poles for the steep terrain.
Key Tips:
✓ Ship caches 3+ weeks early if mailing
✓ Mark buckets with bright tape for easy spotting
✓ Put heavier items (like canned soups) in later caches
✓ The Katadyn BeFree filter pairs perfectly with abundant water sources
Wonderland Trail Amenities & Services
🚻 Bathroom Facilities
While there are NO public showers on the Wonderland Trail, you’ll find bathrooms with running water in the frontcountry areas. At White River and Cougar Rock, the campground bathrooms offer flushing toilets and sinks – perfect for a quick wash of your hands, shirt, or even a full wipe down with paper towels and soap.
Longmire provides similar facilities near the National Park Inn for diners, while Sunrise and Box Canyon have options near the parking lot for day hikers. These stops became our go-to spots to cope with inevitable body odor between cold water swims.
📶 Connectivity & Visitor Centers
The Sunrise Visitor Center (just 0.5 miles off trail) was worth the detour for its exhibits, wildflower guides, and chance to enjoy real food while dilly dallied before ending our day. For connectivity, Longmire’s Wifi near the Longmire Museum and Sunrise’s usable cell service let us update family during resupplies.
Though I kept my phone on airplane mode while hiking, having these options in the front country was reassuring. Don’t count on power outlets (though they exist at National Park Inn, Cougar Rock bathroom, and Sunrise restaurant area) – a portable battery pack is essential for longer stretches between civilization.
Pro Tips:
✔️ Time bathroom stops with meal breaks at front country areas
✔️ Sunrise Visitor Center has the best resources for trail conditions
✔️ Download maps/guides before hitting trail sections without service
✔️ Portable chargers are more reliable than outlet hunting
