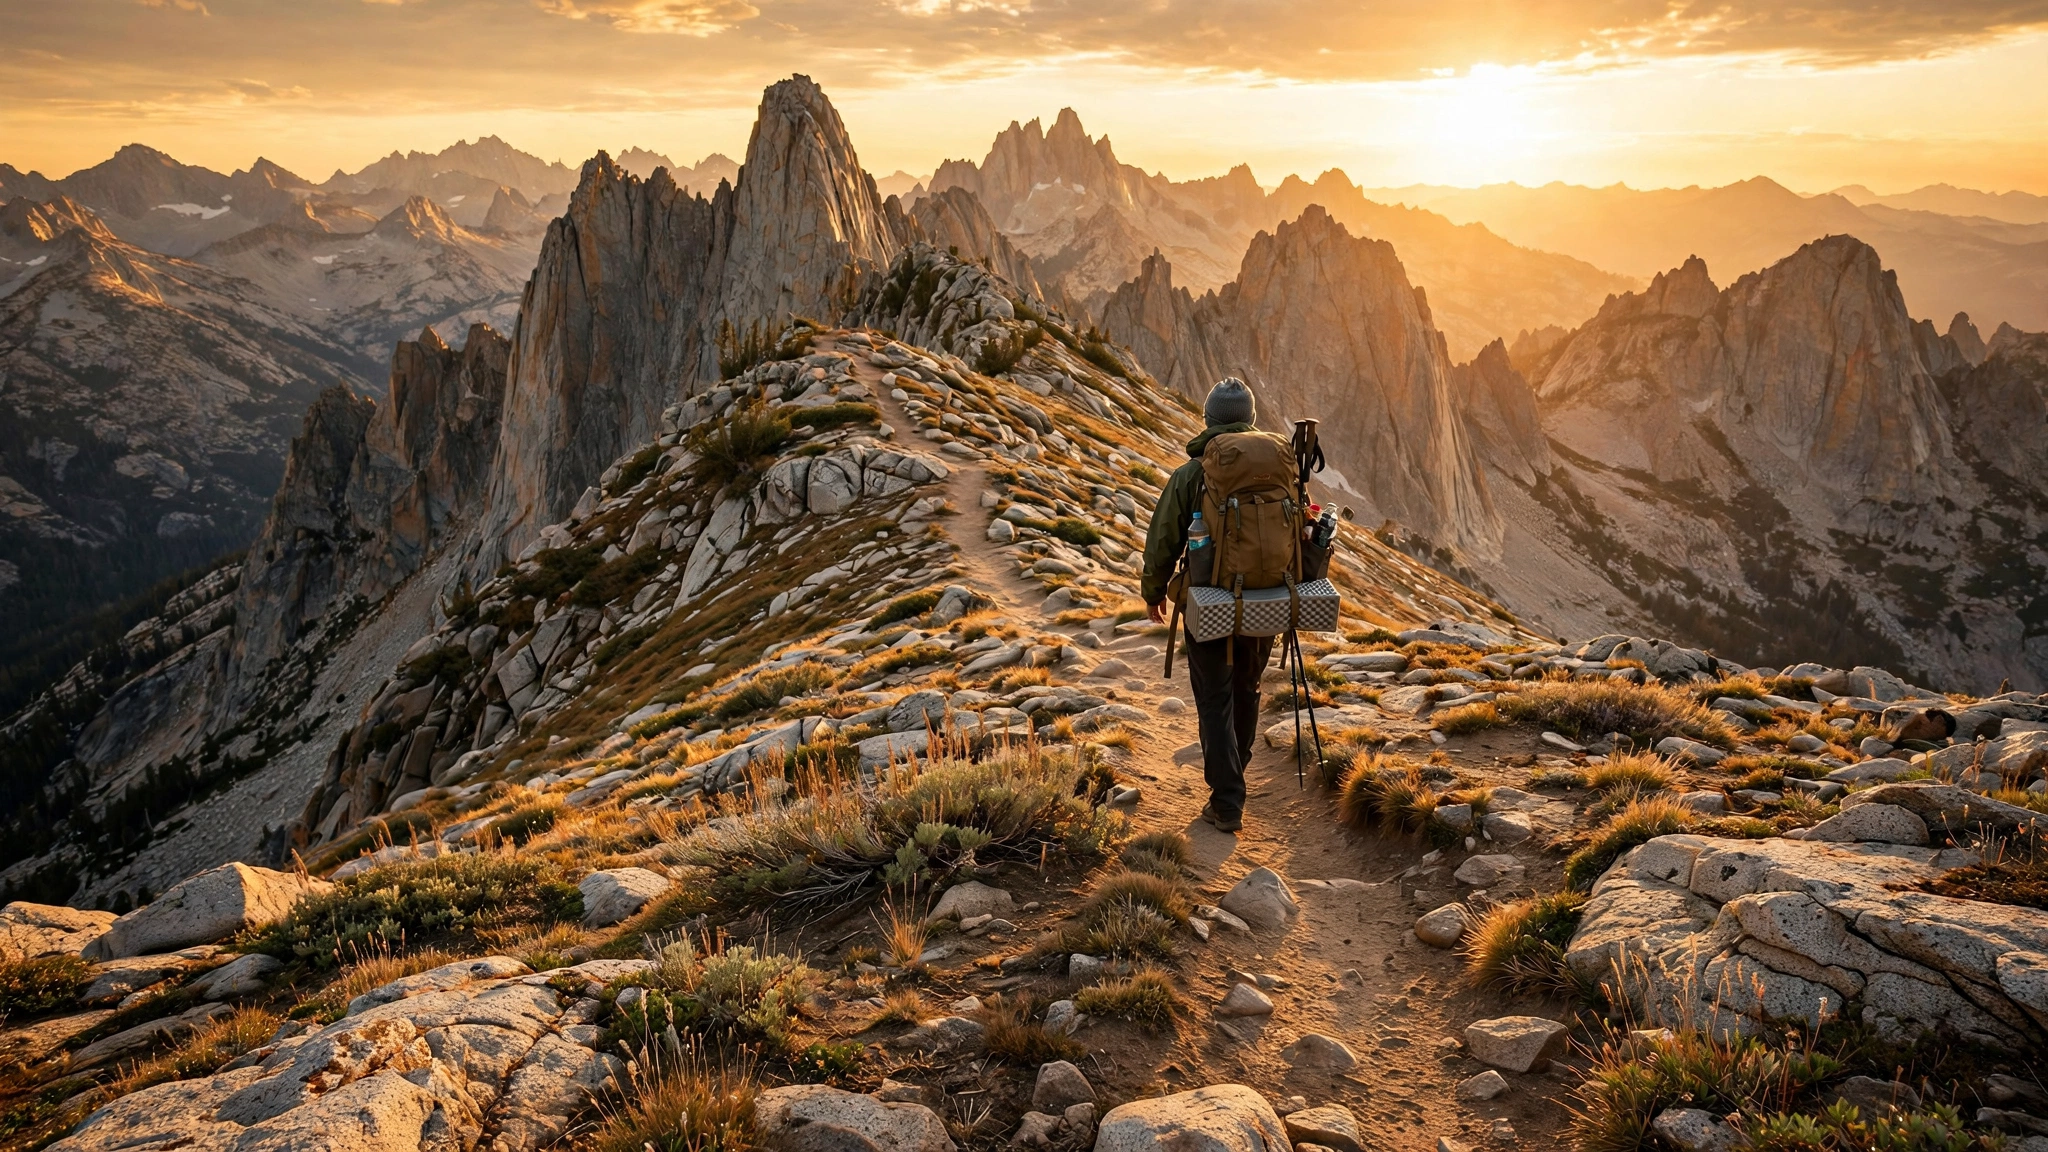
Pacific Crest Trail Thru-Hike: Live the Adventure
Embarking on the Pacific Crest Trail is no small feat. It’s hard, and at times it can feel downright terrible. You’ll ache, sweat, and probably curse your way through some of the toughest stretches. You’ll be dirtier than you’ve ever been in your life. But here’s the thing — it’s also extraordinary. The sense of accomplishment, the sunrise views over endless ridgelines, and the camaraderie of your trail family make every blister worth it.
This undertaking takes serious planning, dedication, and real money. But don’t let that intimidate you — it is entirely doable. I’ve done it, and so can you. Yes, people at home may call you crazy. But out on the trail, hiking becomes your new normal. Everyone around you is in the same boat, sharing the same struggles and the same triumphs.
The Pacific Crest Trail in Numbers
The PCT runs roughly 2,650 miles (4,265 km) from Campo, California, on the Mexican border, to Manning Park in British Columbia. Most hikers walk northbound (NOBO), starting March through May and finishing in Washington in September or October. Southbound (SOBO) hikers flip the script, starting around late June or July at the Canadian border and racing the early winter south.
The trail crosses 25 national forests and 7 national parks, plus California, Oregon, and Washington’s most dramatic terrain: the Mojave and San Bernardino deserts, the Sierra Nevada — including Forester Pass at 13,153 feet, the highest point on the trail — and the Cascade volcanoes. On average, a thru-hike takes 4.5 to 6 months. You’ll burn roughly 3,000–5,000 calories a day and sleep in your tent for most of them. This is the greatest walk in the western United States — let’s plan it properly.
Step 1: Commit to Your Decision
The first step is to decide — and then let go of the self-doubt. This is your decision, and once you make it, everything becomes easier. Tell your employer, tell your family, tell your landlord. A public commitment is strangely motivating: once the words are out, quitting feels like breaking a promise.
Step 2: Research Like It’s Your Job
Start gathering everything you can. YouTube is a fantastic funnel of knowledge and entertainment — vlogs from recent hikers show you exactly what the water carries, the resupply stops, and the Sierra snow crossings actually look like. The Pacific Crest Trail Association website is your official source for permits, closures, and trail alerts. For the human side — gear choices, budgets, and how the experience really feels — the annual surveys at Halfway Anywhere are gold: thousands of hikers report what gear they carried, what they spent, and what they’d change.
Research is not a one-time phase. It continues from your first planning day to your last step at the northern terminus. Enjoy it — this is the part where the adventure lives in your imagination, and it’s free.
Step 3: Build a Real Plan
Map out the journey and build a checklist: visas, permits, budget, insurance, gear, training, mental preparation, and life back home. Set a realistic timeline and work backward. Tasks with long lead times — like a US visa for non-residents — go first. If you’re applying for a B2 visitor visa, start six months out; interview wait times vary by country and can stretch unexpectedly.
Step 4: Execute and Prioritize
Execute ruthlessly. Begin physical training at least four months before your start date: hike with a loaded pack, build mileage gradually, and don’t rush. Overuse injuries are one of the most common reasons hikers leave the trail, and nearly all of them come from doing too much, too fast, in the first two weeks. Build strength slowly — your trail legs will come.
Permits and Visas: What You Need to Know
Permits are the paperwork backbone of a thru-hike. The big one is the PCTA Long-Distance Permit, which covers much of the trail under one umbrella. These permits are released in two rounds each year — typically one in November and a second in January — and they go fast. Northbound start dates are capped at 50 per day; southbound at 15 per day. Always confirm the current process on the PCTA site, because release dates and quotas can shift year to year.
If you miss out, don’t panic. Many hikers assemble the same coverage with individual wilderness permits and by adjusting their start date — trail forums and PCT hiker groups are full of people swapping strategies. And don’t forget the California Fire Permit: it’s free, takes a short online quiz, and you need it to use a cooking stove in California, even if you never plan to build a fire. It’s valid for a calendar year, so apply after January 1.
For non-US hikers: if you’re not eligible for the Visa Waiver Program, you’ll likely need a B2 visitor visa to spend 5+ months in the United States. Some hikers take a mid-trail trip home to reset, but be warned — leaving the country mid-hike carries real risk, because border officials can deny re-entry, and leaving the trail means walking away from your tramily, the support system that will carry you through the hard days. Check the details with the US embassy early, since the process requires thorough documentation. If a visa is refused, ESTA may still be an option for eligible nationalities — get professional advice rather than hoping for the best.
Budget: What a Thru-Hike Actually Costs
Thru-hiking is often called the most expensive way to be homeless — and the joke survives because it’s true. Beyond gear, flights, and insurance, you’ll spend on food, hotels, transportation, restaurants, and the occasional well-earned beer — small joys that keep morale alive. Most hikers spend $7,000–$12,000 all-in for a full thru-hike, which breaks down to roughly $1,000–$1,500 per month on trail. Annual hiker surveys confirm it: town spending is the silent budget killer, not the gear.
Budget for the things you don’t want to think about: postage fees for swapping or replacing broken gear, off-trail recovery after injuries or illness, and side trips (that bus to Vegas will tempt you). Don’t forget the money you’re NOT earning back home, plus the bills that keep arriving — mortgage payments, insurance, phone plan. And leave room to tip your trail angels: the volunteers who hand you cold drinks at road crossings and drive you to town deserve real gratitude, gas money included.
Insurance: Protecting Yourself on the Trail
Insurance is non-negotiable. Check the fine print to make sure your health or travel insurance covers incidents in the USA — medical emergencies there get expensive fast, and even a short doctor visit can cost hundreds of dollars. Make sure your policy includes Search and Rescue coverage, especially for alpine environments. While a helicopter evacuation from a national park is typically free, outside the parks the meter starts running the moment you get in the ambulance.
This is not a far-fetched scenario: I’ve known hikers who were airlifted, and injury season in the Sierra is real. Ensure your coverage lasts for 180 consecutive days of travel, since delays are common and you may want recovery time afterward. A satellite communicator with an SOS button — like the Garmin inReach Mini 2 — is an investment that can save your life when cell signal is a distant memory.
Timing Your Adventure: Snow, Water, and Start Dates
Choosing a start date is a gamble you get to make once. Early starters face serious snow in the Sierra Nevada — snow crossings, swollen creek fords, and slow, exhausting travel. Late starters risk the opposite: scorching desert water carries, dried-up water sources, and a race to finish Washington before early winter storms.
I started on April 3rd. In hindsight, I might have gone even earlier — but in high-snow years, the same start date would have meant an entirely different trail. There is no perfect date; there is only your comfort level. Do you prefer managing snow or managing heat and water scarcity? Check the Sierra snowpack reports before you commit, build extra time and money into your schedule for the unforeseen, and keep your return flight flexible. Life happens out there.
Gear Philosophy: Less Weight, More Wisdom
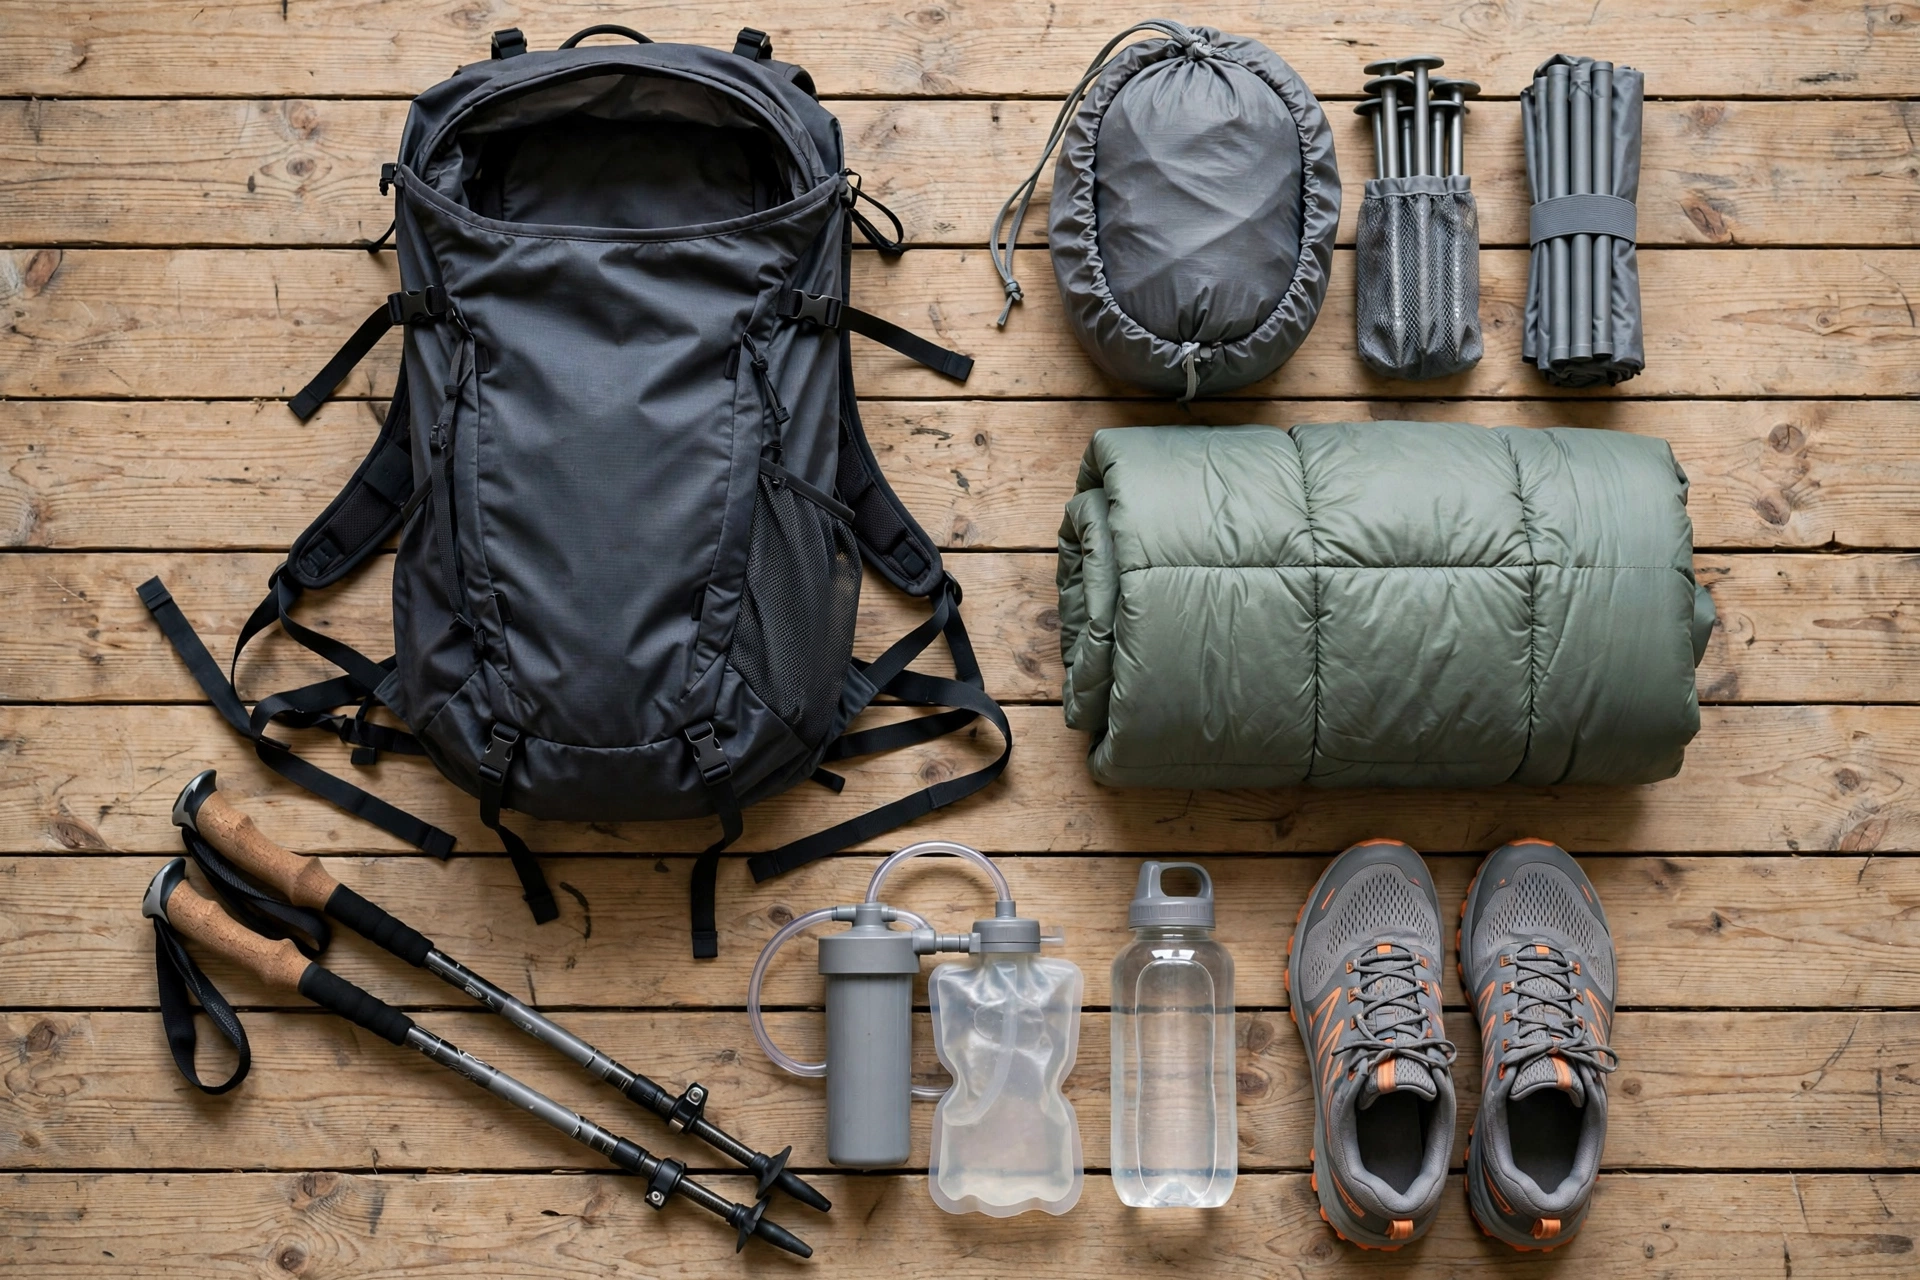
On a thru-hike, your pack is your lifeline. Question every item — weigh it not just physically but mentally. Will it keep you sane during long evenings in camp, or is it just dead weight? I once considered bringing an e-reader. After ten-hour hiking days, all I wanted was food and sleep. The e-reader stayed home, and I never missed it. Be ruthless.
Use tools like Lighterpack to build your packing list and track base weight without repacking every time something changes. And take gear advice with context: recommendations from a tall, burly 25-year-old man may not fit an average-sized, middle-aged woman. Your height, build, sleep temperature, and hiking style all shape what works. If you want to go deeper on kit, our complete hiking gear guide for beginners covers the fundamentals.
The Trail’s Three Faces: Desert, Sierra, Cascades
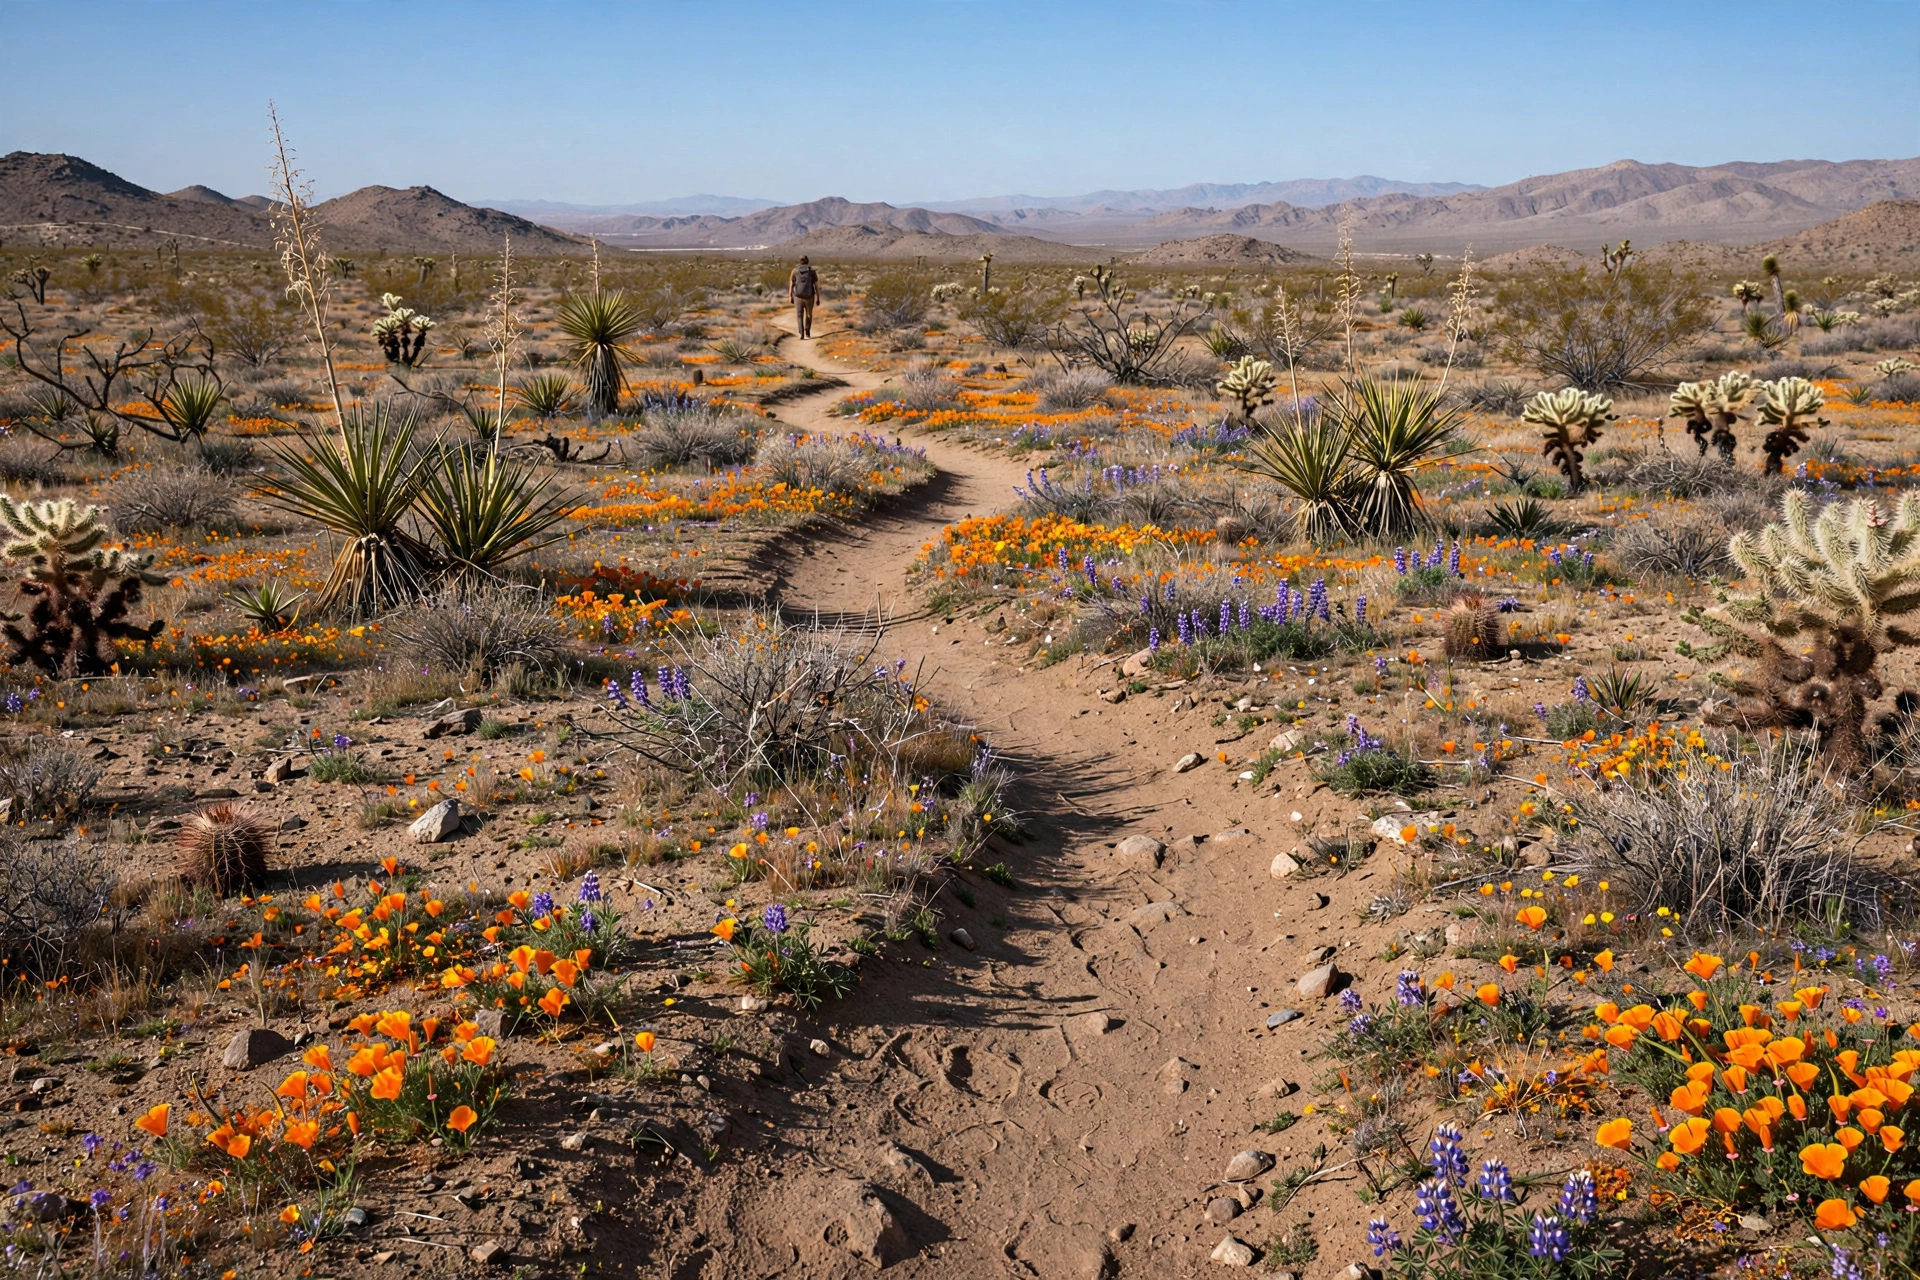
The desert (Southern California, roughly miles 0–700) is where the hike teaches you about water. You’ll carry up to 5–7 liters between sources in long stretches, plan your miles around water caches, and walk under some of the most unforgiving sun on the route. Spring wildflowers can turn it magical overnight.
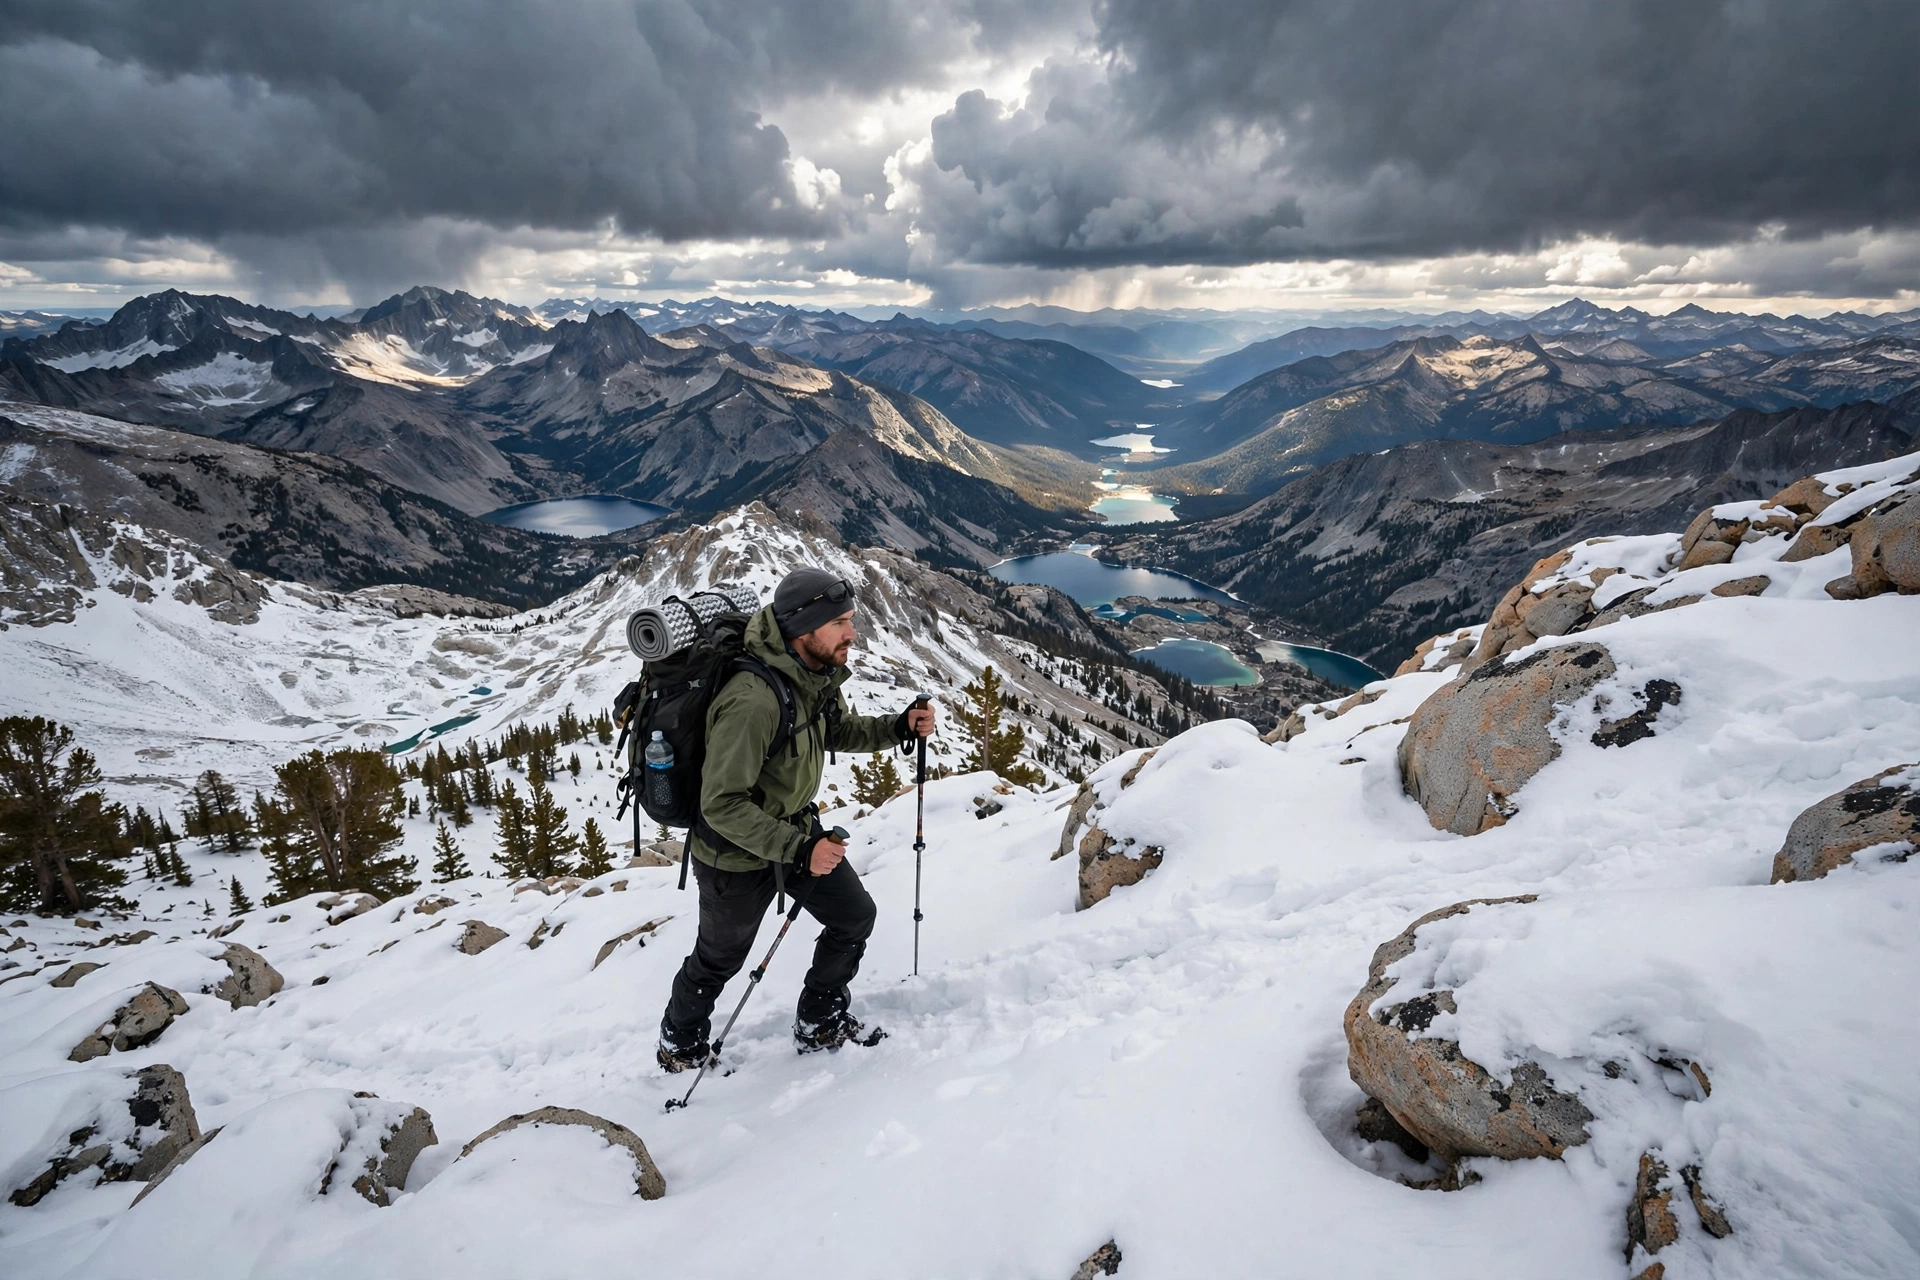
The Sierra Nevada (roughly miles 700–1,100) is the crown jewel — and the test. River crossings, high passes, and weather that can swing from t-shirt to snowstorm in an afternoon. The 2021 tragedy of a hiker slipping off a mountain in the San Jacintos because he left his microspikes behind to save weight is a reminder that cutting grams should never mean cutting safety. Carry traction devices and an ice axe when conditions demand them, and know how to use them.
The Cascades (Oregon and Washington) reward you with green tunnels, volcanic views, and — in Washington — the most remote, rugged, and rainy stretch of the trail. Washington’s glaciers and river crossings in September demand respect. Plan to arrive with time to spare, because when the early winter storms roll in, the trail gets serious.
Training for the Pacific Crest Trail
Physical Preparation: Building Strength and Endurance
Your body needs to be ready for months of 20–30 km days with a full pack. Start with a light pack and add weight gradually until you can comfortably cover long days while carrying food for 4–5 days and several liters of water. Train on varied terrain with real elevation; if you don’t have mountains nearby, use stairs or dunes to simulate the challenge. Always train in the shoes and pack you’ll take on the trail.
Don’t skip the physio: exercises for your feet, legs, back, neck, core, and tendons will dramatically cut your injury risk. Strong ankles and a strong core are the two best insurance policies on the PCT. For cold-weather conditioning, our winter hiking gear list covers how to layer for snow season.
Mental Preparation: Embracing the Challenges
Mental training matters as much as physical training. The trail will test your tolerance for being bored, lonely, cold, hot, wet, tired, thirsty, and hungry. The hikers who finish are rarely the fittest — they’re the ones who learned to treat discomfort as a challenge rather than a catastrophe. Cultivate routines: podcasts or audiobooks for road walks, journaling for bad days, and small daily rewards that make mile 22 feel worth it.
Life Logistics: Planning for the Long Haul
Your life back home needs a plan too. Can you take extended leave or work remotely? If employed, ask about unpaid leave or a sabbatical early — and decide in advance how far you’ll go if the answer is no. There will always be other jobs, but only you can decide what this hike is worth.
What happens to your home? Can it sit unattended for five months? Options include temporary renting, having family or friends house-sit, or simply leaving it empty with bills on autopay. If you have loved ones, share your research openly and talk honestly about what months of absence will mean. It’s a big decision, but with proper planning, it’s entirely achievable. And whatever you do on the trail, practice the Leave No Trace principles — protecting these wild places is part of every hiker’s job.
Frequently Asked Questions
How long does a Pacific Crest Trail thru-hike take?
Most hikers take 4.5 to 6 months. Fast hikers can finish in under 100 days, but rushing misses the point — and increases injury risk. Plan for five months plus a buffer on either end.
How much does it cost to thru-hike the PCT?
Expect $7,000–$12,000 all-in, including gear, travel, insurance, and on-trail spending of roughly $1,000–$1,500 per month. Town stops — hotels, restaurants, and gear replacements — are the biggest budget surprise for first-timers.
When should I apply for a PCTA long-distance permit?
Permits are released in two rounds each year, typically November and January, and the popular start dates sell out fast. Apply the day your round opens, and always check the current process on pcta.org, since dates and quotas can change.
Can a beginner thru-hike the Pacific Crest Trail?
Yes — many finishers had never backpacked for more than a weekend before the PCT. What matters more than experience is preparation: train with a loaded pack, start your mileage low (10–15 miles/day in the desert), and let your trail legs build gradually.
Is the PCT dangerous?
It carries real risks: desert heat and water scarcity, Sierra snow and river crossings, hypothermia in Washington, and the occasional wildlife encounter. Hikers who respect the conditions — carrying enough water, traction devices, a satellite communicator, and proper insurance — complete the trail safely every year.
Do I need a bear canister on the PCT?
Yes, in the Sierra Nevada a bear canister is required in much of the national park and wilderness sections, and regulations have only tightened in recent years. The most common choice is the BV500 for its capacity; check current requirements on pcta.org before you buy, since rules change.
