Ultimate Pacific Crest Trail Resupply Strategy for Success
Planning Your Resupply for the PCT
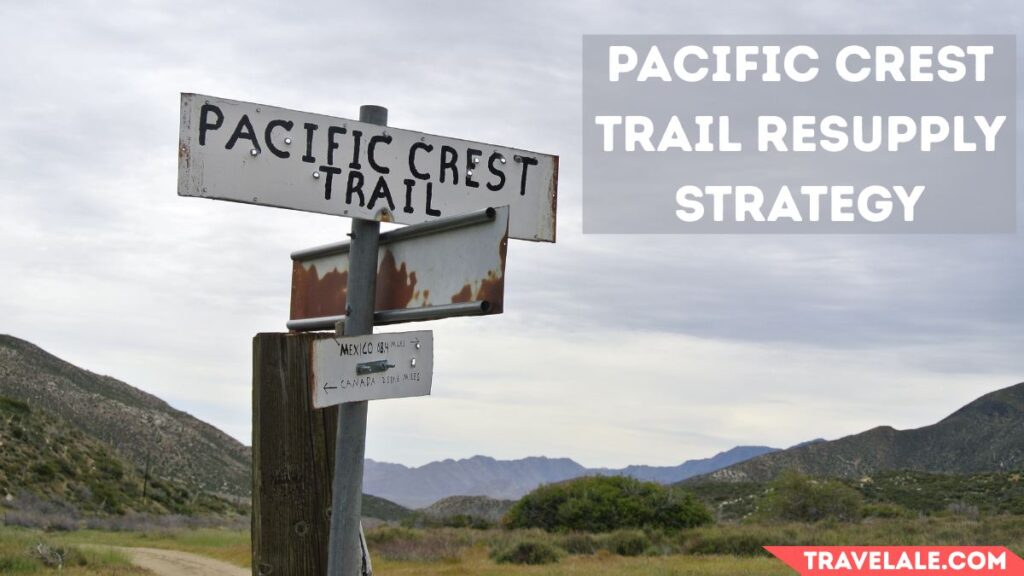
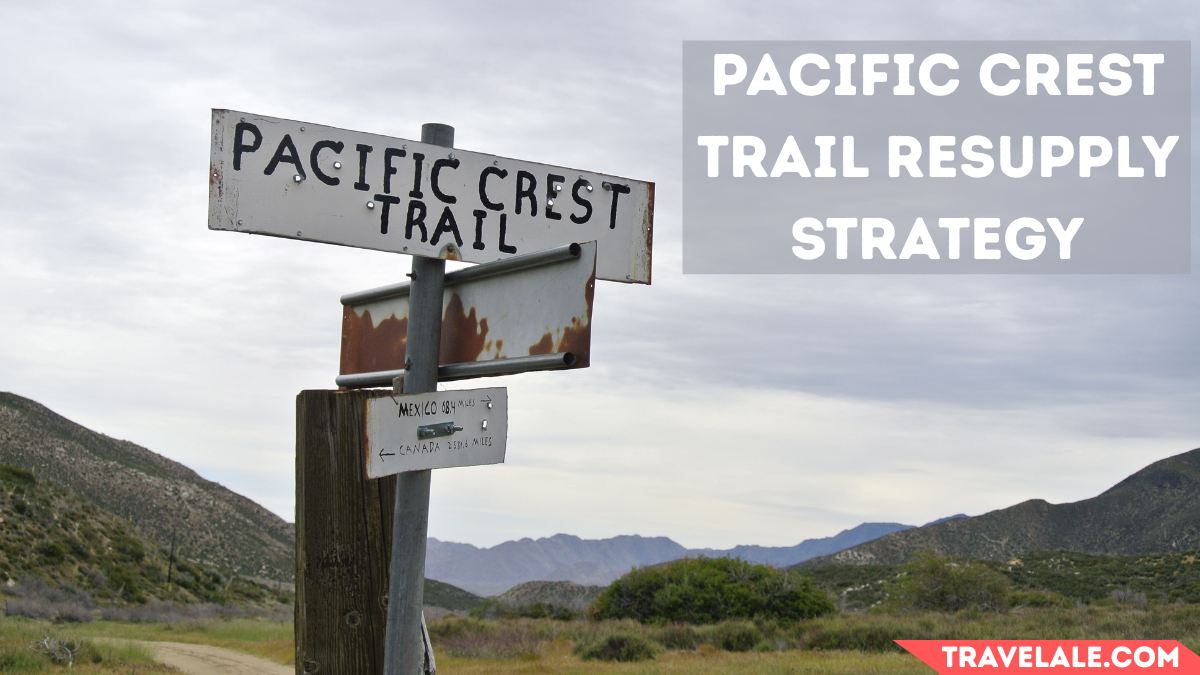
Embarking on the Pacific Crest Trail (PCT) is truly an adventure of a lifetime, but it demands meticulous planning and preparation. Spanning 2,650 miles of rugged terrain from Mexico to Canada, the trail presents unique challenges, especially when it comes to resupplying food and other essentials.
One of the most common questions I’ve encountered, even from a curious friend, is, “How will you carry five months of food on your back?” The answer lies in the efficient resupply strategy that ensures you’re never stranded without necessities.
During my upcoming journey, I quickly realized that the trail isn’t isolated; it passes through numerous towns where hikers can resupply. Whether you’re a seasoned hiker or tackling your first long-distance trek, understanding how to manage your food and supplies is crucial for a successful and enjoyable thru-hike.
In this guide, I’ll share valuable insights, tips, and tricks to help you navigate the challenges of resupplying on the PCT. From my personal experience, a well-thought-out resupply plan not only lightens your load but also enhances the overall adventure.
1. Buy Everything in Towns as You Go
If you prefer flexibility, buying everything in towns as you go is a straightforward option. Along the trail, you’ll pass through towns like San Diego, Tehachapi, South Lake Tahoe, Ashland, and Bend, where you can stock up on food and essentials.
This method works well if you enjoy adapting your resupply strategy on the fly. However, it can be time-consuming, especially in smaller towns with limited grocery store options. For international travelers, taking a zero day in larger towns to prepare and ship resupply packages for future sections like the Sierras, Northern California, Oregon, or Washington can save time later.
Key Points:
- Relies on grocery stores in towns along the trail.
- Offers flexibility but may require extra time for shopping.
- Ideal for those who prefer spontaneity.
2. Send Yourself Pre-Made Packages
Sending pre-made packages is a popular choice for hikers who want customization and cost savings. By planning your meals in advance, you can cater to specific dietary preferences and avoid relying on gas station food. Buying in bulk is more economical than purchasing in expensive trail towns.
However, this method comes with challenges, such as postage fees (a medium flat rate box costs 16.10,anda large flat rate box costs 16.10 and a large flat rate box costs 21.50), holding fees, and the risk of overestimating or underestimating your needs. After 5 months on the trail, your appetite might change, leaving you with unwanted food in a hiker box.
Key Points:
- Allows for customization and cost savings.
- Requires careful planning to avoid overestimating or underestimating needs.
- Postage fees and holding fees can add up.
3. A Combination of Buy & Send (Most Popular Method on the PCT)
The most popular method on the PCT is a combination of buying in towns and sending pre-made packages. This approach balances convenience, customization, and flexibility. For example, you can send packages to remote sections like the Sierras or Washington while buying in towns with good grocery stores. This method ensures you have efficiency in planning while maintaining the ability to adapt your itinerary as needed.
Key Points:
- Balances convenience and flexibility.
- Ideal for remote sections like the Sierras or Washington.
- Combines the benefits of both buying and sending.
What Are the Advantages of Shipping a Resupply Package?
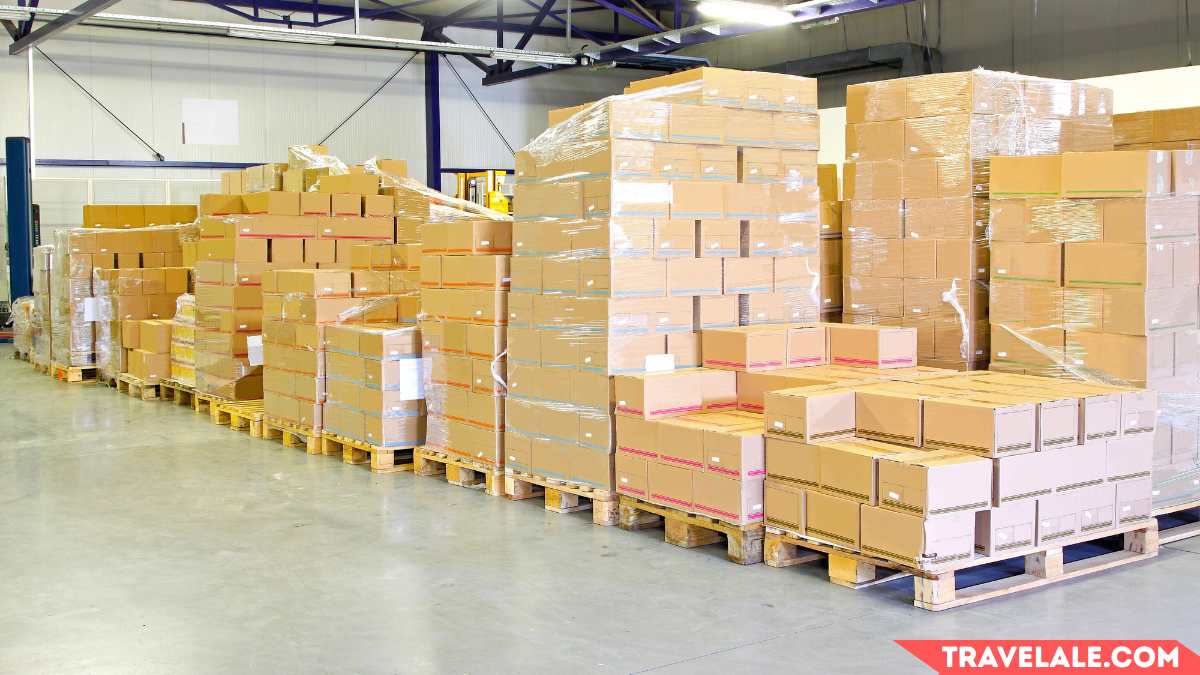
Shipping resupply packages offers several advantages:
- Convenience: Plan your meals in advance and avoid the hassle of shopping in towns.
- Customization: Tailor your food to meet dietary preferences and avoid gas station food.
- Cost Savings: Buying in bulk is more economical than purchasing in expensive trail towns.
- Efficiency: Spend less time organizing and more time resting or hiking.
What Are the Disadvantages of Shipping a Resupply Package?
While shipping resupply packages has its perks, there are disadvantages:
- Lack of Variety: You might tire of the same food and end up discarding it in a hiker box.
- Postage Fees: Shipping costs ( 16.10 fora medium flat rate box and 16.10 for a medium flat rate box and 21.50 for a large flat rate box) and holding fees can add up.
- Limited Flexibility: Changes to your itinerary can make pre-sent packages inconvenient.
- Overestimating or Underestimating Needs: Your appetite may change over 5 months, leading to wasted food or shortages.
How Do You Send a Resupply Box?
To send a resupply box, follow these steps:
- Address the package to Your Name, c/o General Delivery, Town Name, State, Zip Code.
- Use USPS for medium or large flat rate boxes (costing 16.10 and 6.10 and 21.50, respectively) or UPS if necessary.
- Tape the box with something noticeable like hot pink duct tape and label it with “Please Hold for PCT Hiker” and your ETA.
- Ship the box at least 2 weeks in advance to ensure it arrives on time.
- Keep a list of tracking numbers for all packages to resolve issues if they don’t arrive.
Key Points:
- Use General Delivery for post offices.
- Label packages clearly and ship them early.
- Track all packages to avoid losing them.
What’s in a Resupply Box?
Essentials for Your Resupply Box
When preparing a resupply box for the Pacific Crest Trail, it’s important to include more than just food. Start with the basics: electrolytes like Liquid IV, Nuun, or LMNT to stay hydrated, and condiments such as hot sauce, salt, mustard, and spices to add flavor to your meals.

Don’t forget practical items like a lighter, Ziplock bags (both 1 gallon and sandwich size), and doggie bags for poop trash. For personal care, pack toiletries, sunscreen, face wipes, body wipes, Portawipes, toothpaste, Leukotape, bandaids (especially for blisters in the desert), and any medications. If you plan to shower in trail towns, include shampoo, conditioner, and a razor in mini bottles to save money.
Key Points:
- Include electrolytes, condiments, and practical items like Ziplock bags and doggie bags.
- Pack toiletries, sunscreen, and medications for personal care.
- Use mini bottles for shampoo and conditioner to save space and money.
Food Choices for the Trail
Food is the heart of your resupply box, and choosing the right items is crucial. On the Pacific Crest Trail, you burn a massive amount of calories, so focus on nutritious foods rather than junk food to maintain energy levels and aid recovery. For breakfast, I relied on protein bars like Go Macro, Perfect, or Rx, along with instant coffee from Trader Joe’s.

Oatmeal with chia seeds and dried fruit was another staple. For lunch, I packed tortillas, bagels, tuna packets, peanut butter, jelly, Nutella, salami, cheese, and hummus, occasionally adding spinach or avocado for freshness.
Snacks like trail mix, Chomps meat sticks, olives, energy chews, waffles, dried fruit, chips, Goldfish, Pb pretzels, and candy (especially gummies and peanut m&m’s) kept me going. Dinner often consisted of dehydrated backpacking meals from brands like Peak Refuel, Good to Go, and Backpacker’s Pantry, or simple options like Knorr rice, pasta sides, ramen, and mac & cheese.
Key Points:
- Prioritize nutritious foods to fuel your body and maintain energy levels.
- Include a mix of breakfast, lunch, snacks, and dinner options.
- Use dehydrated backpacking meals for convenience and variety.
How I Resupplied on the Trail
I used a combination of shipping and buying to manage my resupply. Before the trail, I prepared dehydrated food and healthy options to include in my boxes. However, I also took advantage of well-stocked grocery stores and general stores in trail towns for fresh food and snacks.
In smaller towns with limited options, I relied on pre-sent boxes. To stay organized, I created a spreadsheet with mileage, mailing addresses, contact info, and holding fees for every trail town. Planning for zero (no hiking) and nero (partial hiking) days was also key to managing my resupply strategy effectively.
Key Points:
- Combine shipping and buying for flexibility.
- Use a spreadsheet to track mileage, addresses, and fees.
- Plan for zero and nero days to optimize your resupply strategy.
Southern California Resupply Guide

Campo (Mile 0) to Mount Laguna (Mile 43)
Starting at Campo (Mile 0), it’s essential to pack enough food for 2.5 days to reach Mount Laguna. Many hikers tend to overpack, but you don’t need 5 days of food right away. At Lake Morena (mile 20), the Malt Shop is just 0.4 miles off the trail and offers breakfast burritos, burgers, and milkshakes. While I didn’t resupply here, the breakfast was a great way to fuel up on day two.
Mount Laguna (mile 43) is the first real resupply point. I mailed a package to the General Store, which cost $10 to pick up. The store has resupply foods, but they’re expensive. The address for shipping is:
Your Name, c/o Laguna Mountain Lodge, PO Box 146, Mount Laguna, CA 91948. Don’t miss the café for a hearty meal and a chance to charge your electronics. You can also buy coins for the campground showers.
Julian (Mile 77) to Warner Springs (Mile 110)
Julian (mile 77) is 13 miles off the trail, so you’ll need to hitchhike. It’s a great spot for your first zero day, with restaurants, cafes, and hotels. The small grocery store has limited options, but you can put together a resupply. The address for mailing a package is:
Your Name, c/o General Delivery, Julian, CA 92036. Don’t forget to stop by Mom’s Bakery for a free slice of pie and coffee with your PCT permit.
At Warner Springs (mile 110), the Resource Center no longer hosts hikers, so I recommend shipping a box here. The only resupply option is the gas station. The post office address is:
Your Name, c/o General Delivery, Warner Springs, CA 92086. Note the limited hours on Saturday and closure on Sunday.
Paradise Valley Café (Mile 152) to Idyllwild (Mile 179)
Paradise Valley Café (mile 152) is worth a stop for their delicious burger. The café is 0.5 miles off the trail and closes at 3PM, so plan accordingly. They allow camping in the field behind the café and accept packages at:
Your Name, Hold for PCT hiker – ETA, c/o Paradise Valley Cafe, 61721 State Highway 74, Mountain Center, CA 92561.
To reach Idyllwild (mile 179), you can hitchhike from Paradise Valley Café or take the Devil’s Slide Trail. Idyllwild is perfect for a zero day, with restaurants, grocery stores, and hotels. The post office address is:
Your Name, c/o General Delivery, Idyllwild, CA 92549. If it’s a high snow year, this is the best place to mail your microspikes and ice axe for Mt. San Jacinto.
Cabazon (Mile 210) to Big Bear Lake (Mile 275)
Cabazon (mile 210) is 4.5 miles off the trail and has a dollar general, post office, and fast food options like In-n-Out Burger and Chipotle. I skipped the town but ordered Chipotle via Uber Eats to the I-10 underpass—a hiker hack I highly recommend!
Big Bear Lake (mile 275) is a fantastic mountain town with restaurants, hotels, and grocery stores. Don’t miss Grizzly Manor Cafe for their massive pancakes. The post office address is:
Your Name, c/o General Delivery, Big Bear Lake, CA 92315. Be prepared for hitches around town, as it’s quite spread out.
Cajon Pass (Mile 342) to Acton KOA (Mile 443)
At Cajon Pass (mile 342), the famous McDonald’s is a popular stop for food and electronics charging. Wrightwood (mile 369) is 5.5 miles off the trail and has a well-stocked grocery store, restaurants, and hotels. The hardware store accepts packages at:
Your Name, Mountain Hardware, 1390 Hwy 2 P O Box 398, Wrightwood, California 92397.
Acton KOA (mile 443) is a quarter mile off the trail but charges for everything—camping, showers, laundry, and even Wi-Fi. The address for packages is:
PCT Hiker: Your Name, 7601 Soledad Canyon Rd., Acton, CA 93510.
Agua Dulce (Mile 455) to Tehachapi (Mile 566)
Agua Dulce (mile 455) has limited options, but Maria Bonita Mexican restaurant is a must-visit. From here, you can take a Nero to Santa Clarita or head into Los Angeles.
Hikertown (mile 518) is a quirky stop with showers and tamales. The address for packages is:
Your Name, Hikertown 26803 W. Ave. C-15, Lancaster, CA 93536.
Tehachapi (mile 566) is 9 miles off the trail but an easy hitch. The town has hotels, grocery stores, and restaurants like Thai Hachapi and Kohnen’s bakery. The post office address is:
Your Name, c/o General Delivery, Tehachapi, CA 93581. This is also a great place to prepare for the Sierra.
Lake Isabella/Kernville/Ridgecrest (Mile 652) to Kennedy Meadows (Mile 702)
Lake Isabella, Kernville, and Ridgecrest are accessible from Walker Pass (mile 652). While I skipped these towns, they offer restaurants, grocery stores, and post offices.
Kennedy Meadows (mile 702) marks the end of the desert and the start of the Sierra. It’s a vortex where hikers often stay longer than planned. Grumpy Bears Retreat offers free camping, showers, and laundry. The address for packages is:
Your Name, Grumpy Bear’s Retreat, 98887 Kennedy Meadows Rd., Inyokern, CA 93527.
Northern California Resupply Guide
South Lake Tahoe (Mile 1091) to Sierra City (Mile 1194)
South Lake Tahoe (mile 1091) is an ideal spot for a zero day. You can hitch into town from Echo Summit, where you’ll find plenty of accommodation, restaurants, grocery stores, and outfitters. For a relaxing break, head to El Dorado Beach and nap on the sandy beach.
Further along, Soda Springs, Truckee, and Donner Pass (mile 1153) offer unique stops. At Donner Ski Ranch, thru-hikers get a free 40 oz beer with proof of a permit. While Soda Springs has limited resupply options, Truckee is a great place for a zero with its grocery stores and outfitters.
Sierra City (mile 1194), a charming mining town, is just 1.5 miles off the trail. The general store has expensive resupply options, but the deli is worth a visit. You can mail packages to:
Your Name, c/o Sierra Country Store, 213 Main St., Sierra City, CA 96125.
Belden (Mile 1287) to Burney Falls (Mile 1419)
Belden (mile 1287) is a small stop near the Feather River. The Belden Town Resort has a restaurant, store, and hotel, but I recommend Caribou Crossroads RV park for showers, laundry, and resupply packages.
In Chester (mile 1331), I picked up my resupply box from the post office and enjoyed a burger at Pine Shack Frosty. The address for packages is:
Your Name, c/o General Delivery, Chester, CA 96020.
Old Station (mile 1373) is a quick detour with a post office and JJ’s café, known for its breakfast. The address for packages is:
Your Name, c/o General Delivery, Old Station, CA 96071.
Burney Falls (mile 1419) is a highlight, with its stunning state park. The store has limited resupply options but serves amazing soft-serve ice cream (available until 5PM).
You can mail packages to:
Your Name, c/o Burney Park Camp Store McArthur Burney Falls State Park, 24900 State Highway 89, Burney, CA 96013. The campground offers free camping for hikers and tokens for showers.
Shasta/Castella (Mile 1501) to Seiad Valley (Mile 1656)
Shasta (mile 1501) is worth the 15-mile trip for a zero day. The town has food, accommodation, a gear store, and a grocery store. I stayed at an Air BnB and even caught a movie at the theater. The post office address is:
Your Name, c/o General Delivery, Mount Shasta, CA 96067. For a quicker stop, head to Castella and mail packages to:
Your Name, c/o Ammirati’s Market, PO Box 90, Castella, CA 96017.
Etna (mile 1600) is a hiker-friendly town with a grocery store, restaurants, and a spa. The town park offers camping for $5, including showers, WiFi, and a charging station. The address for packages is:
Your Name, c/o General Delivery, Etna, CA 96027.
Finally, Seiad Valley (mile 1656) marks your last stop in California. The general store has expensive resupply options, but the RV campground offers showers, laundry, and camping for $20. Don’t miss the pancake challenge—eat 5 pounds in 2 hours to get them free! The address for packages is:
Your Name, c/o Mid River RV Park, 44701 Highway 96, Seiad Valley, CA 96086.
Oregon Resupply Guide

Ashland (Mile 1718) to Crater Lake (Mile 1820)
After finishing California, Ashland (mile 1718) is a fantastic place to celebrate and take a zero. The town offers plenty of restaurants, grocery stores, gear shops, and hotels, including affordable Air Bnb’s if you’re traveling with a group. There’s no need to send a resupply box here, as the town has everything you need.
Further along, Fish Lake (mile 1773) is a 2-mile detour with a café, small store, and restaurant. They accept UPS resupply packages for a $5 fee at the address:
Your Name, c/o Fish Lake Resort, State Hwy 140, Mile Marker 30, Eagle Point, OR 97524. Hikers can enjoy free camping, showers, laundry, and charging stations.
One of my favorite stops was Crater Lake National Park – Mazama Village (mile 1820). The general store and restaurant are about a mile from the trail, and while the food is overpriced, the views are worth it. You can mail resupply packages to:
Your Name, c/o Mazama Village Camper Store, Mazama Village Crater Lake, OR 97604. Don’t miss the free camping, showers, and bathrooms, or the buffet breakfast at the rim restaurant.
Shelter Cove (Mile 1907) to Cascade Locks (Mile 2148)
Due to fire closures, I missed Shelter Cove (mile 1907), but it’s a great spot for a resupply box. The small store and free camping are two miles off the trail. Packages must be sent via UPS and cost $5 to pick up at:
Your Name, c/o Shelter Cove Resort & Marina, 27600 West Odell Lake Road, Highway 58, Crescent, OR 97733.
Elk Lake Resort (mile 1954) is another option, just a mile off the trail. They offer showers, laundry, and a restaurant, but the small store isn’t ideal for resupply. You can mail packages via UPS or FedEx to:
Your Name, c/o Elk Lake Resort, 60000 Century Dr., Bend, OR 97701.
For a longer break, head to Bend (mile 1984), 37 miles from the trail. It’s perfect for a zero and preparing Washington resupply boxes. The town has grocery stores, REI, post offices, restaurants, and breweries. You can even rent floats to relax on the river.
Big Lake Youth Camp (mile 1995) is a short detour offering free meals, free showers, and a cabin for hikers. They accept packages at:
Your Name, c/o Big Lake Youth Camp, 26435 Big Lake Rd., Sisters, OR 97759.
Timberline Lodge (mile 2097) is a must-visit, with hiker deals on bunk rooms and an incredible buffet. Packages cost $10 to receive at:
Your Name, Timberline Lodge, c/o Guest Services PCT, 27500 E Timberline Road, Timberline Lodge, OR 97028.
Finally, Cascade Locks (mile 2148) marks the border of Oregon and Washington. The town has restaurants, breweries, a grocery store, and a post office. You can camp on Thunder Island or stay at the RV park. The address for packages is:
Your Name, c/o General Delivery, Cascade Locks, OR 97014.
Washington Resupply Guide

Trout Lake (Mile 2230) to Snoqualmie Pass (Mile 2394)
Trout Lake (mile 2230) is 13 miles off the trail and can be tricky to reach, but the general store offers shuttles for hikers. Once in town, you’ll find picnic tables, charging stations, free laundry, and camping for.
The campground showers cost
The campground showers cost 2/5 minutes, and you can buy coins at the store. For resupply, the general store has plenty of options, or you can mail a box to:
Your Name, c/o Trout Lake Grocery, 2383 Hwy 141, Trout Lake, WA 98650. Don’t miss the taco stand and post office coffee—they’re amazing!
At White Pass (mile 2296), the White Pass Cracker Barrel is less than a mile from the trail. They accept resupply packages for $5, but the coin showers are reportedly cold. If you need more options, hitch to Packwood for a grocery store, accommodation, and a brewery with great tacos.
Snoqualmie Pass (mile 2394) is a small town with an affordable motel, restaurants, and a grocery store. The Summit Inn Hotel allows guests to pick up resupply boxes for free (or $15 for non-guests). Their Pancake House serves a delicious breakfast, making it a convenient stop.
Stevens Pass (Mile 2465) to Canada (Mile 2654)
Stevens Pass (mile 2465) has a restaurant with great burgers, but no resupply store. You can mail UPS packages to:
Your Name, ETA, C/O Stevens Pass, Through Hiker, 93001 NE Stevens Pass Hwy, US 2, Skykomish, WA 98288. Alternatively, hitch 30 miles to Leavenworth, a charming Dutch town with restaurants, breweries, and gear shops. It’s the last trail town before Canada, making it perfect for a zero with your trail family.
Stehekin (mile 2573) is a remote gem with a yellow bus that picks up hikers at 9am, 2pm, and 5pm. The bakery is a must-visit for their sticky bun and cinnamon roll. The general store sells snacks, drinks, and WiFi for $5. You can camp for free at Lakeview Campground, but spots are limited. Mail your resupply box to:
Your Name, c/o General Delivery, Stehekin, WA 98852.
Mazama (mile 2592) is another great stop, though I missed it due to a mudslide. The Mazama Store offers beer and snacks, while the Lion’s Den provides free camping, kitchen access, free showers, and laundry services.
Finally, celebrate reaching Canada (mile 2654)! You can hike 8.5 miles to Manning Park or 30 miles back to Hart’s Pass. Either way, enjoy some real food and reflect on your incredible journey.
Pro Tips for a Smooth Resupply Experience
Here are some key points to keep in mind for your resupply strategy on the Pacific Crest Trail:
- Check Hiker Boxes: Most trail towns have hiker boxes with free food and useful items. Don’t miss out on these!
- Buy Fuel in Towns: Avoid the hassle of ground shipping for fuel. Purchase it directly in towns.
- Use Amazon Wisely: If you need something from Amazon, ship it to your Airbnb or a trail angel’s home in the next town.
- Stay Updated: Always check FarOut for closures before sending packages.
- Be Flexible: Your hunger levels and food preferences may change, so stay adaptable.
- Expect Delays: Packages might not arrive on time, and trail towns can vortex you in longer than planned.
- Prepare for Challenges: Injuries and other unexpected events are part of the adventure.
- Plan Thoughtfully: A well-thought-out resupply strategy will enhance your journey.
Happy trails!
